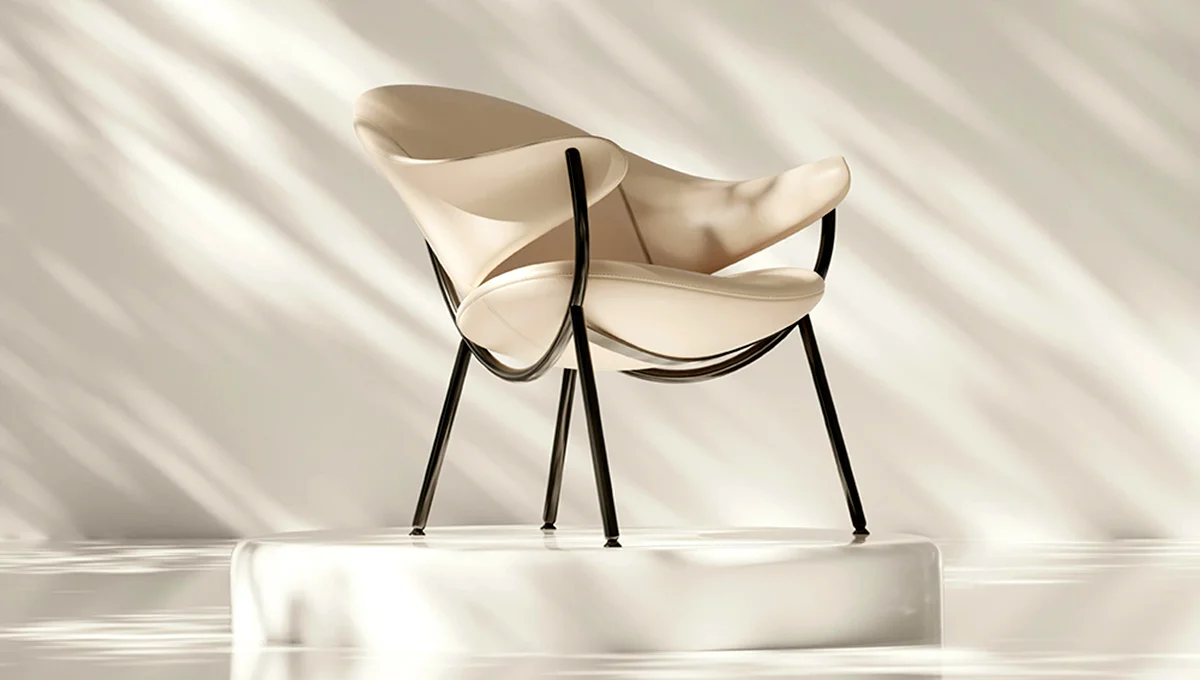
Have you ever scrolled through an online store’s web pages and instantly felt drawn to a product?
Well, it was just because of how amazing the photo looked.
That’s the power of product photography. Product images show more than just an item. It’s a digital marketplace that influences buying decisions.
At Glossy Retouching, we’ve seen this transformation firsthand. The process of photography makes a huge difference in product sales. A well-shot image builds trust and it helps customers imagine the product in their lives. Also, a good photo can set it apart from competitors.
So, in this guide we’ll take you through everything you need to know about product photography. From what it really means and how it evolved to the latest AI innovations that are shaping its future.
What Is Product Photography?
Product photography is a process of art and science of capturing images that accurately represent a product. It’s used everywhere. From e-commerce worlds to social media ads. The main goal of photography is to understand brand’s product features, quality, and presentation.

This photography process focuses on clarity, accuracy, and appeal. It combines technical skills (like lighting, composition, and camera setup) with creative direction (styling, background, and mood) to present the product in the best possible way.
In short: Product photography isn’t just about taking pictures—it’s about creating visuals that sell.
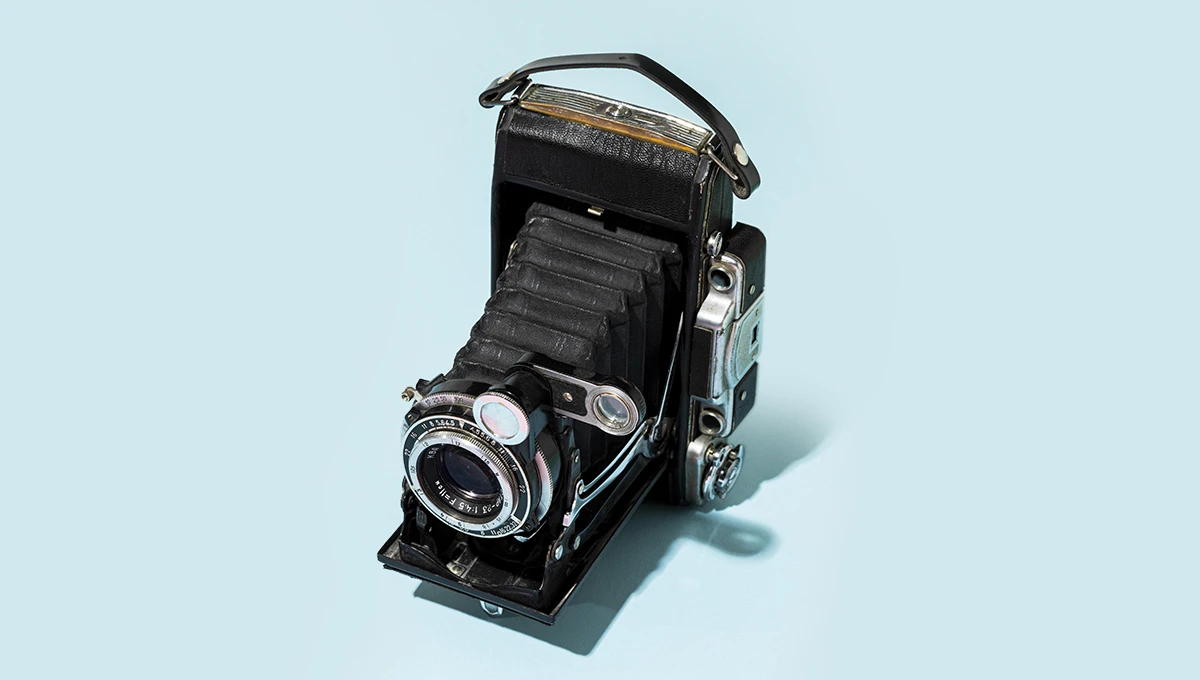
When Did Product Photography Start?
Product photography has been around far longer than most people think. Its roots trace back to the late 1800s. Soon after the invention of commercial photography itself. Early businesses began using photographs to advertise products in newspapers and printed catalogs.
In the early 1900s, companies like Sears and Kodak started using product images extensively in mail-order catalogs. What we might now call the first e-commerce photos! These early images were black and white, carefully composed to highlight craftsmanship and detail.
The major evolution came in the mid-to-late 20th century. The rise of color photography and commercial advertising. Suddenly, product imagery wasn’t just informative—it became persuasive. Brands are starting to showcase their products through photography.
Product Photography in the Modern Era
Now, the product photography is everywhere. In 2026, product photos have become a powerful marketing tool that businesses can use.
“75% of respondents said that product images were “very influential” in whether they made a purchase, according to an industry guide from The Good“
For platforms like Amazon, Shopify, and Etsy, using high-quality images. These companies have seen a significant sales boost after using high-resolution images
Modern product photography is no longer limited to studios and DSLRs. It now includes:
- Smartphone photography (with advanced sensors and apps)
- 360 Product Photography that lets users rotate a product
- Lifestyle imagery that shows products in real-world use
- CGI and 3D renders that simulate realistic visuals without a camera
- AI tools that automate retouching and background creation
We’ve seen firsthand how technology continues to redefine what’s possible. Today’s product photography blends creativity, technology, and marketing insight to tell powerful visual stories that convert.
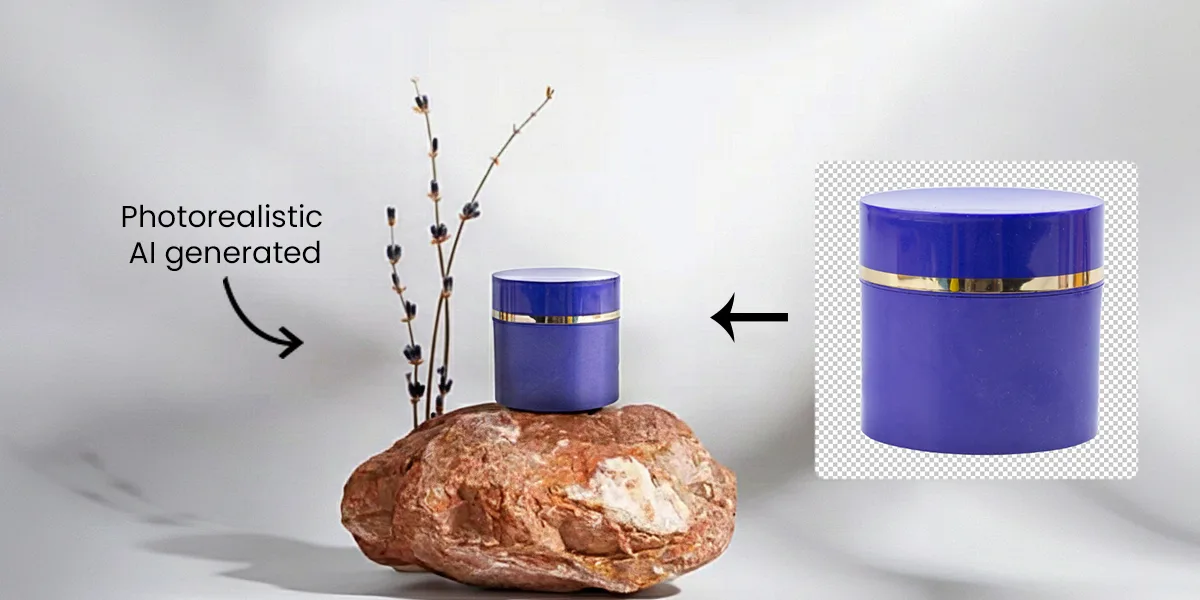
AI and the Future of Product Photography
Artificial intelligence is already reshaping how product images are created and refined. AI-powered tools can now:
- Automatically remove or change backgrounds
- Enhance lighting and color with one click
- Generate virtual product scenes (like AI lifestyle compositions)
- Even create entire synthetic photos without an actual camera
This doesn’t mean photographers are being replaced. It means they’re being empowered. Editing that once took hours can now be done in minutes. It allows professionals to focus more on creativity and concept rather than repetitive tasks.
Why Is Product Photography Important?
It’s really important the product photography in the e-commerce business. Customers check product photos before they buy. They don’t pay much attention to the product descriptions. Their eyes are drawn to the photo. It decides whether they’ll stay or scroll away. Great product photography helps you win that moment.
Mostly e-commerce brands need product visuals on their website. Because when a customer wants the product, they must check the product photos. That’s why the photo becomes their only point of reference. A clean and well-presented image lets customers see colors, textures, and details clearly. It reduces uncertainty and even lowers return rates. On the other hand, dull or inconsistent photos can make even the best products look cheap or unreliable.
A product photographer also plays a huge role in brand identity. An ideal photographer captures the stunning images you see on websites, Instagram ads, or email campaigns. They can help to represent the product feature in the catalog, whether it’s a lifestyle shot showing the product in action or a crisp white background image highlighting every detail. Product photography rates can vary widely based on the photographer’s experience, the number of shots, and the complexity of the project.
Types of Product Photography
The types of photography style depend on the product type, brand identity, and the company owner’s wishes. These are the most common and effective types of photography that businesses use today-
White Background Photography
This is the most classic and widely used photography style. In this type of photography, the product is shot against a clean white background. It makes the product look sharp and distraction-free. This type is perfect for e-commerce listings, catalogs, and marketplaces like Amazon. Because it keeps all attention on the product itself.
360º Product Photography
This type of photograph is becoming popular in the e-commerce industry. In this technique, the customer can see the product from every angle by rotating it digitally. It creates an interactive experience for the customer. It’s commonly used for furniture, shoes, and gadgets to highlight design and structure
Lifestyle Photography
This type of photography is a technique to show the product in real-life situations or environments. For example, a coffee mug on a breakfast table or a sofa in a cozy living room setup. This photoshoot image easily connects with the customer’s actual real-life reality. It helps them imagine how the product fits into their daily lives.

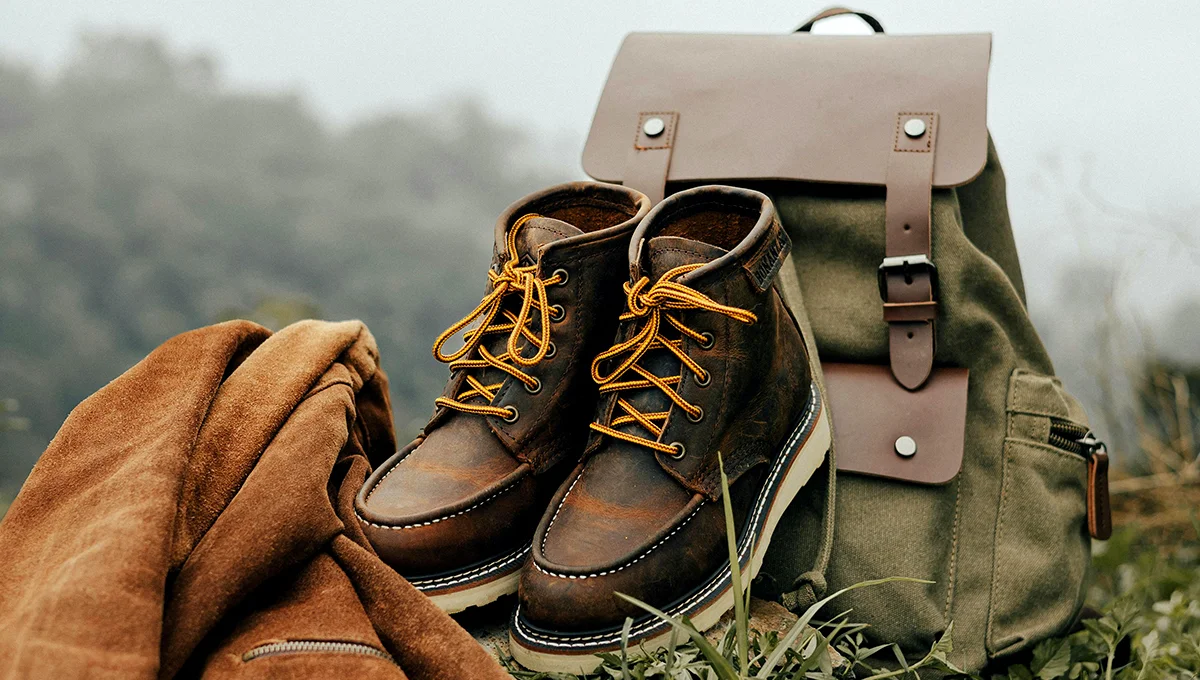
Contextual Photography
This type is similar to lifestyle photography. But it is more focused on context. This type places products within their natural environment. For example, hiking boots are photographed on a mountain trail. It builds authenticity and reinforces the product’s purpose.
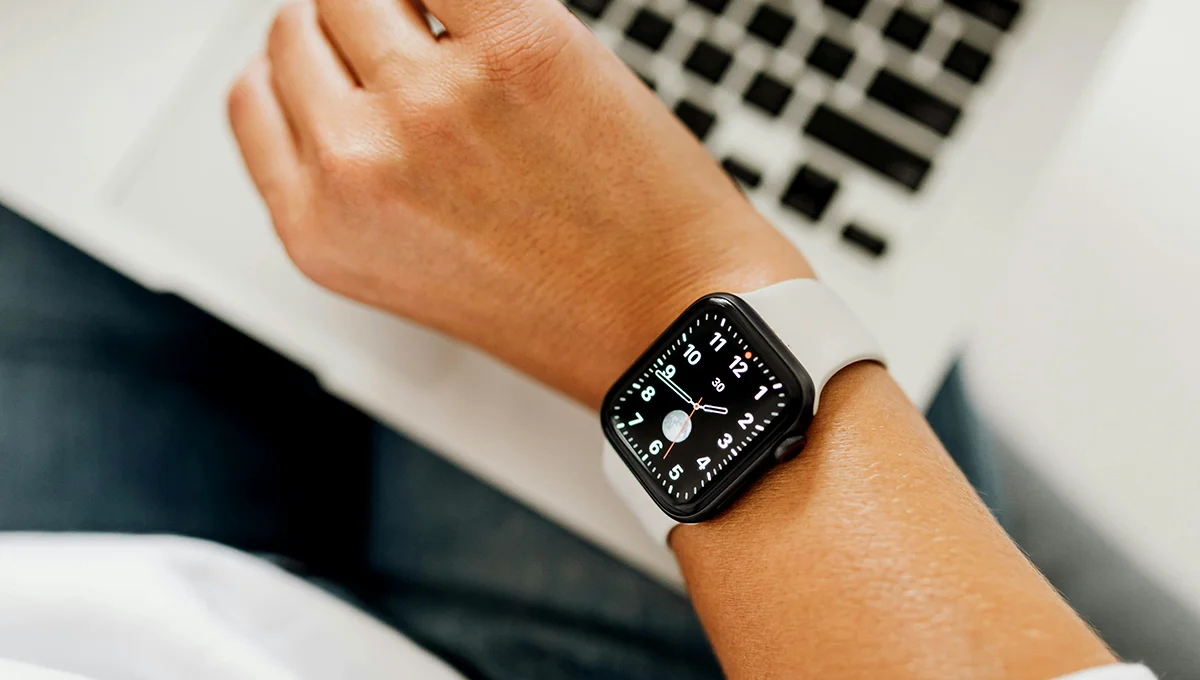
Scale Shots
This type is very interesting. It shows the size of a product compared to another familiar object. For example, a watch beside a hand or a lamp next to a chair. These images help online shoppers understand proportions and avoid surprises after purchase. It’s especially useful for products where size isn’t obvious from photos alone.
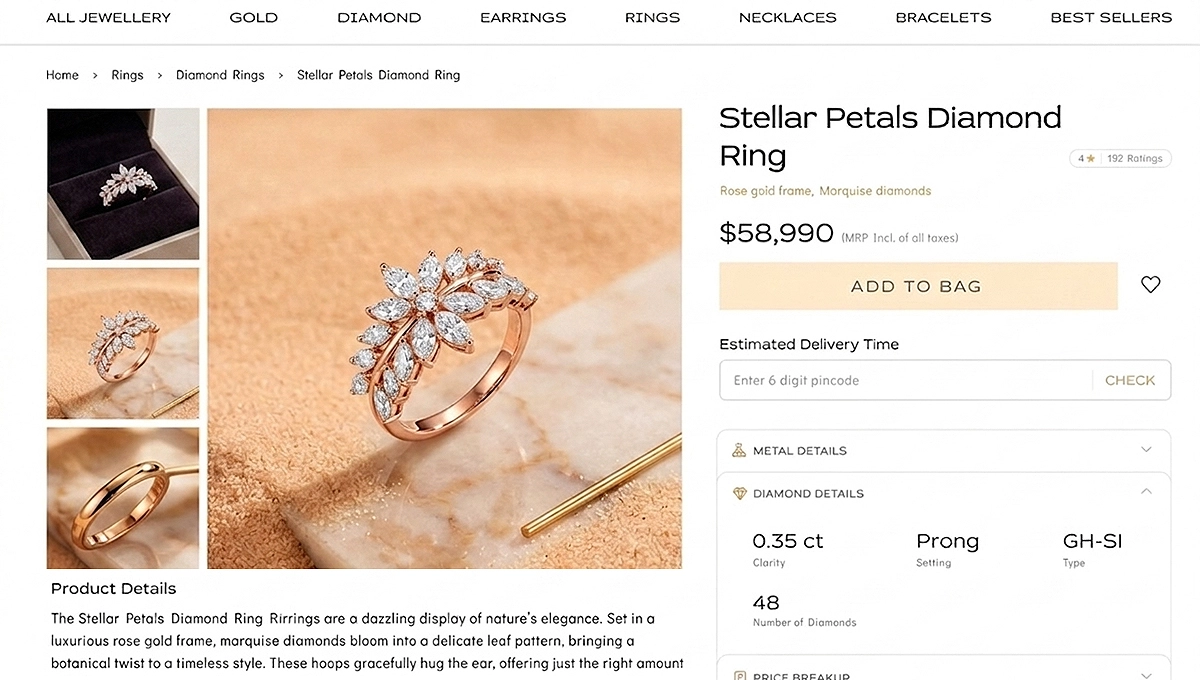
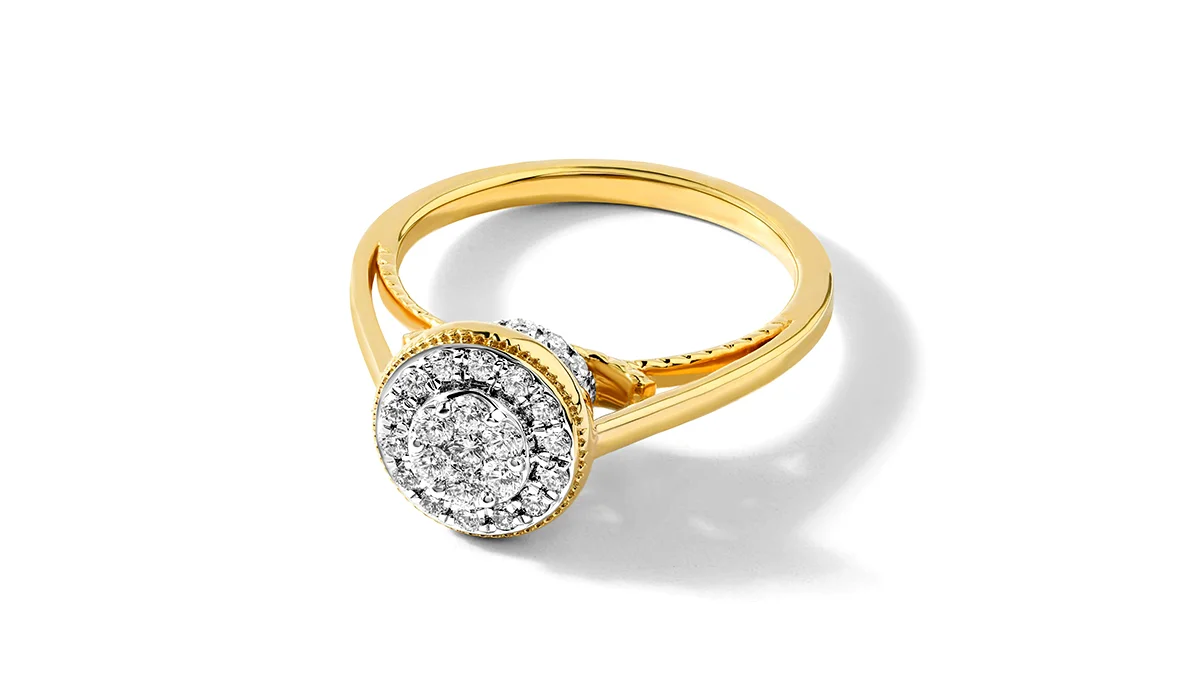
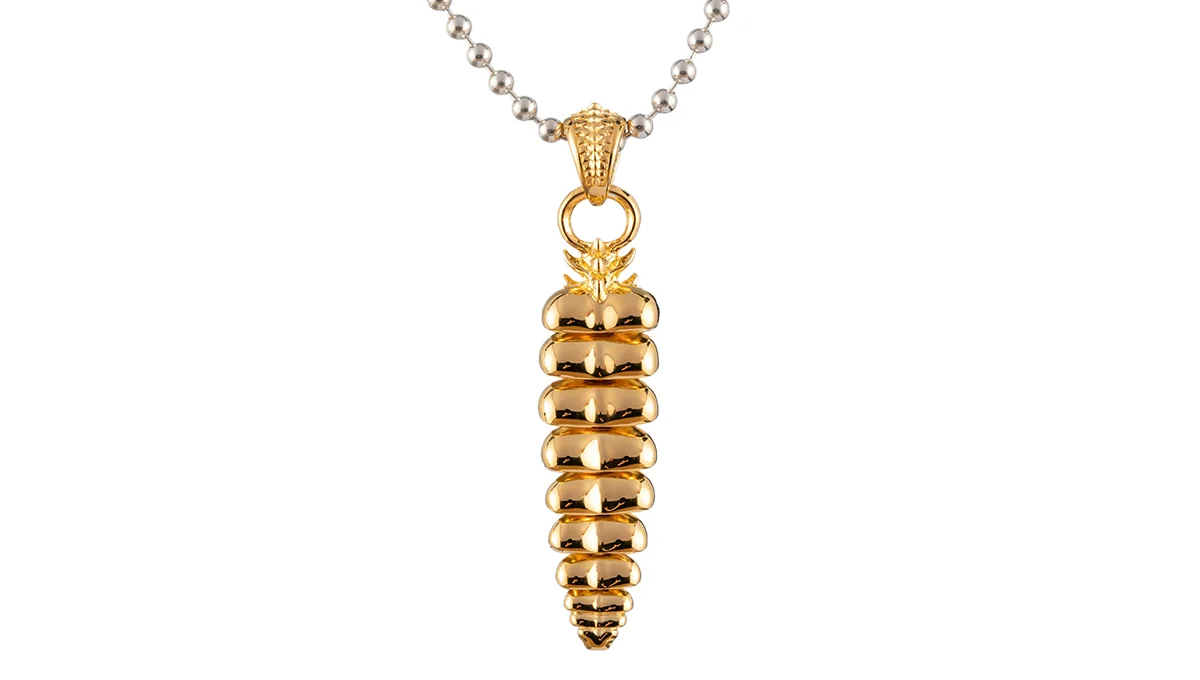
Jewelry Photography
This photography style highlights the jewelry product’s fine textures, materials, or craftsmanship. For example, a close-up shot of pendant stitching, metal finishing, or gemstone sparkle. These shots are essential for luxury items, jewelry, and fashion accessories.
Group Shots
This type of photography shows multiple items together. It helps to show the same product in different colors in one photo. For example, a set of skincare products or a furniture collection. They’re great for showcasing product bundles or variations in color, size, or design.

Flat Lay Photography
This photography is also popular in the e-commerce industry. It’s taken from directly above with products arranged neatly on a surface. This style is popular for fashion, accessories, stationery, and food. It’s visually pleasing on social media and the website.

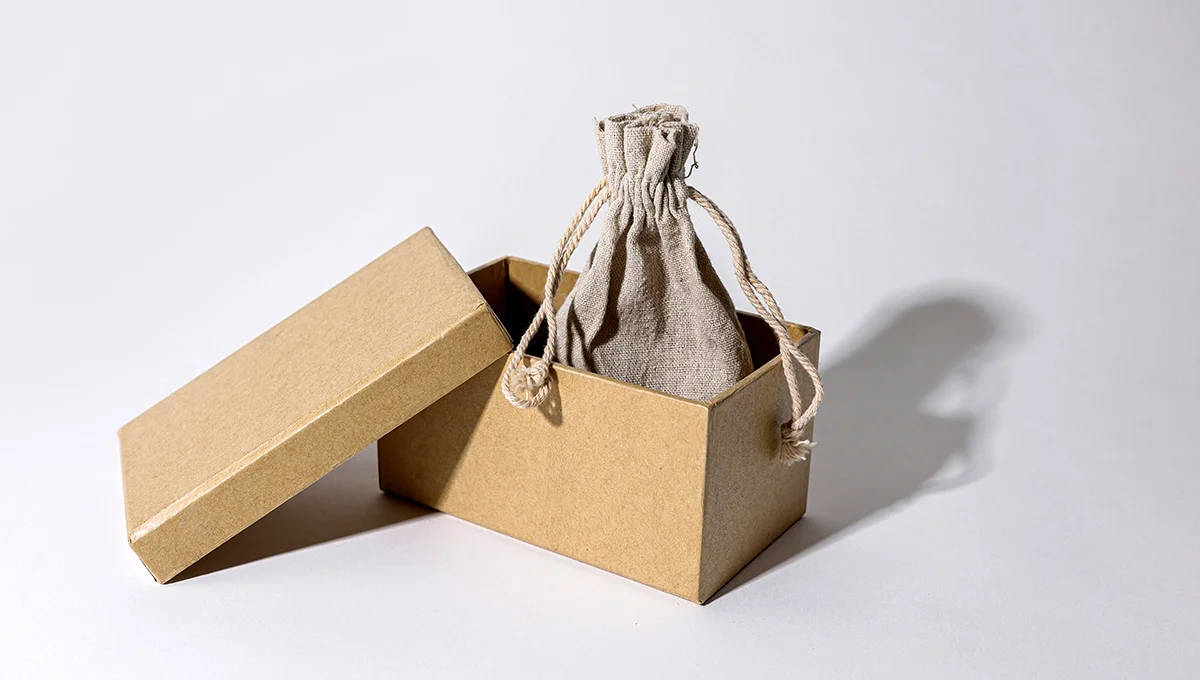
Packaging Photography
This type of photography focuses on the design and presentation of the product’s packaging. For example- boxes, labels, and wrapping. It’s an important part of branding since packaging often influences buying decisions. A beautiful packaging photo can reflect your brand’s personality and attention to detail.
Micro Product Photography
Micro or macro photography captures extreme close-ups of small products or tiny details. For example, jewelry, diamonds, watch mechanisms, etc. It reveals what the naked eye might miss, emphasizing craftsmanship and quality. This photography is perfect for luxury and high-end brands.

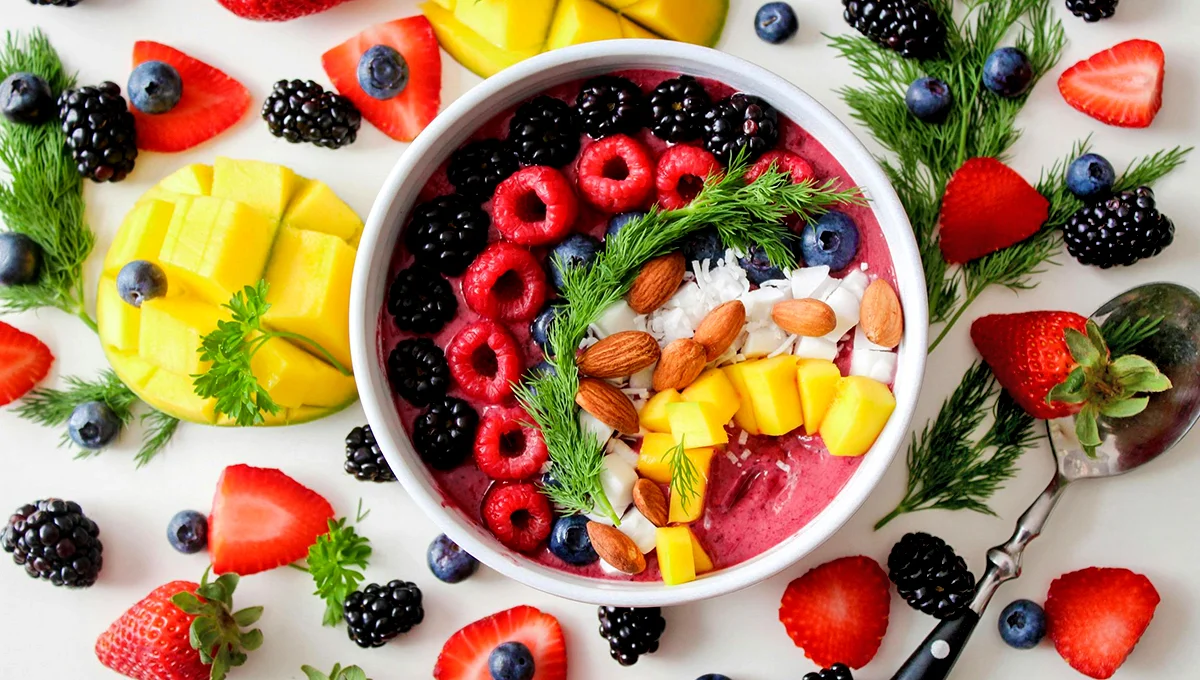
Food Photography
This type of photography is all about making food dishes look delicious and irresistible. It combines lighting, styling, and composition to highlight freshness, texture, and flavor. Whether it’s for restaurants, packaging, or delivery apps, mouth-watering food photos are key to driving appetite and sales.
3D Product Photography
This type of photography is a new concept in the e-commerce industry. It helps to create a realistic, rotatable 3D model of any product using multiple photos or computer-generated techniques. It’s becoming a standard in modern e-commerce for its immersive, interactive experience.
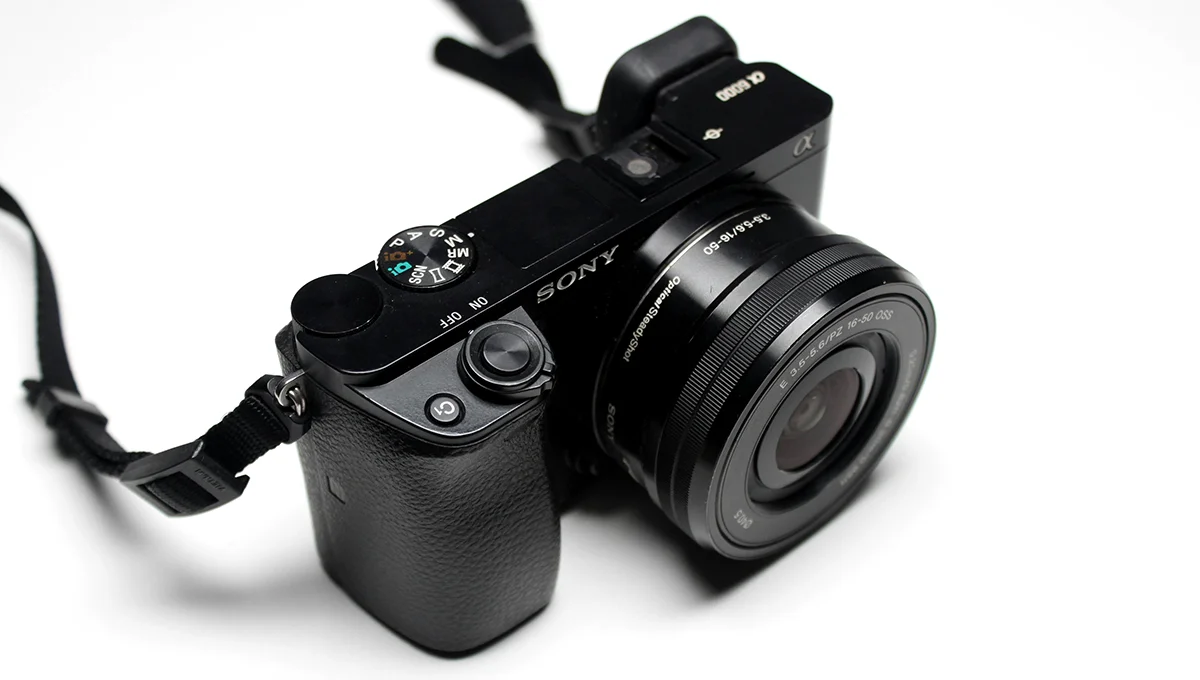
What Is the Best Camera for Product Photography?
If you want to start product photography, you have to choose the best camera for the product photoshoot. But here’s the catch: you don’t have to buy an expensive camera to take professional-looking photos. You have to understand how to use it and control the lighting. We’ll talk about more details in the coming section.
Most of our clients are product photographers, and they have tested many cameras. Below are some of the best cameras for product photography–
Canon EOS R5
The Canon EOS R5 is a powerful camera for professional photography. It has a 45-megapixel full-frame sensor, which captures incredible detail and color accuracy. This camera also has an autofocus system. It ensures every shot is tack-sharp. The R5 also performs exceptionally well in low light. It’s perfect for commercial studios and photographers who need top-tier results.
Our Opinion: Ideal for professional studios or brands that need ultra-high-resolution images for print and e-commerce.
Nikon Z7 II
This camera has a 45.7MP full-frame sensor and impressive dynamic range. It delivers product photos very much true-to-life. Its color reproduction is particularly accurate. The lightweight body and simple menu system make it user-friendly, even for beginners moving into professional gear. This camera is useful for clothing, jewelry, or cosmetics photography.
Our Opinion: A great balance of image quality and usability — perfect for consistent product catalog work.
Sony A7R IV
This camera has a 61MP full-frame sensor. One of the highest in its class. This camera can capture the smallest product textures, like fabric weaves or gemstone reflections. This camera also boasts excellent dynamic range and fast tethering. This one is a favorite for professional studio setups.
Our Opinion: Outstanding for detailed close-up work and high-end brands that demand pixel-perfect clarity.
Fujifilm X-T5
The Fujifilm X-T5 offers 40MP resolution in a smaller and more affordable APS-C body. It’s lightweight, color-accurate, and known for its beautiful film-like tones. Many small studios and creative entrepreneurs love it because it delivers professional results without the high cost or bulk of a full-frame camera.
Our Opinion: A smart choice for small business owners or freelance photographers.
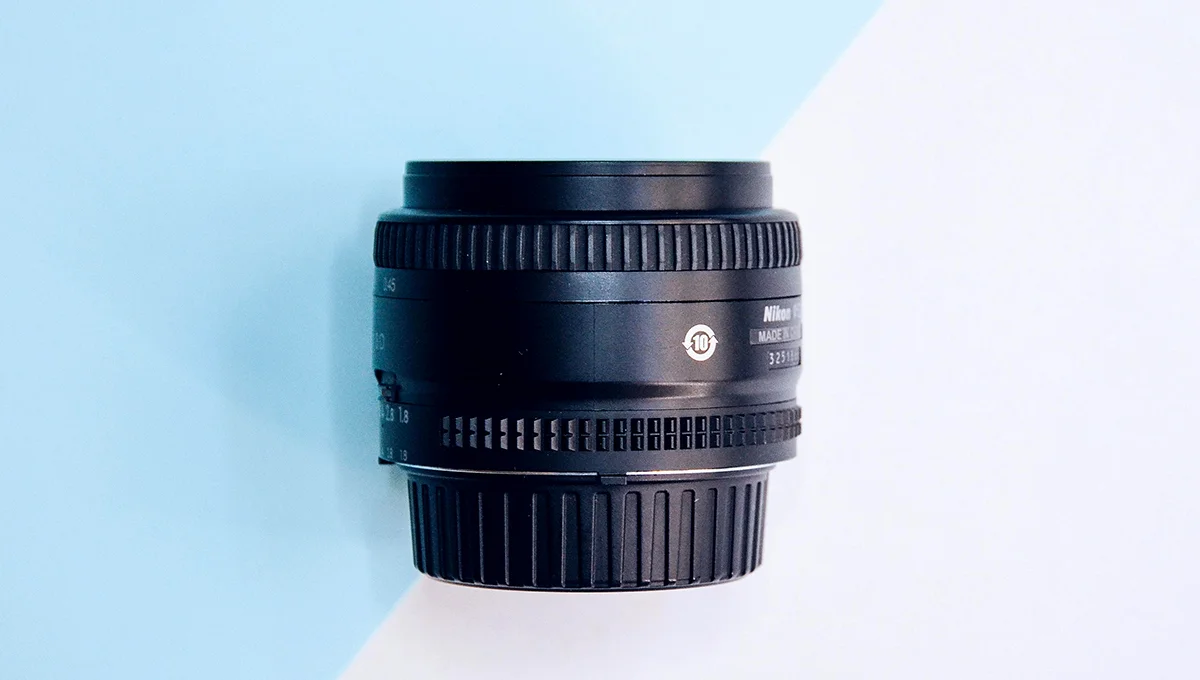
What Is the Best Lens for Product Photography?
After buying the camera, it’s important to choose the best lens for your photography. But choosing the best lens depends on a lot of things. What type of product are you going to shoot (tiny jewelry vs large furniture)? Our clients have tested many lenses, and below are some of the ones we most often recommend-
Macro Lenses (90mm–105mm, f/2.8 etc.)
If you wanted to shoot the small product, then macro lenses are good for capturing. For example- close-up textures, stitching, jewelry, electronics, etc. These lenses help to capture very close up without distortion. Canon EF 100mm f/2.8L Macro IS USM is known for its magnification and detail. The Sony FE 90mm f/2.8 Macro G OSS is great for detail shots.
Our Opinion: If your product line includes anything small (jewels, cosmetics, small components), a macro lens is almost non-negotiable. It’s worth investing in one good macro rather than compromising quality.
Standard Primes (~50mm–85mm)
50mm or 85mm lenses are often called “workhorses” in product photography. These are wide enough to get full product shots without needing too much distance. These are capable of good background blur when needed. The Nikon 50mm f/1.8 line is often recommended for beginners. The Fujifilm XF 56mm f/1.2 is another premium prime.
Our Opinion: If you have to pick one lens to start with, a 50mm or around there is usually the best first move. Its versatile, produces natural-looking results, and works well across many product types.
Versatile Zoom Lenses (24–70mm, 24–105mm etc.)
Zoom lenses are good for flexibility. These lenses are good for small objects to larger items. These lanses help to zoom in or out without changing your lens, save time, and keep the setup consistent. Canon EF 24-70mm f/2.8L II and 24-105mm lenses are often cited as great all-around zooms for product photography. They may not give as much detail as a macro or as much background blur at wide apertures.
Our Opinion: Zooms are especially helpful when space is tight or when you want to shoot different product types in one session. Just make sure the lens is sharp and has reliable performance across the zoom range.
What Other Equipment Do You Need for Product Photography?
Creating perfect product images often requires additional equipment as well. But it doesn’t mean that we need expensive gear. External equipment contributes a lot to getting a perfect shot. We’ll walk you through all the essential gear you’ll need. Here are details-
Tripod
A tripod can help to keep the camera steady and ensure consistency between shots. It is especially needed for e-commerce product images. It helps to use slower shutter speeds for brighter, cleaner images without camera shake.
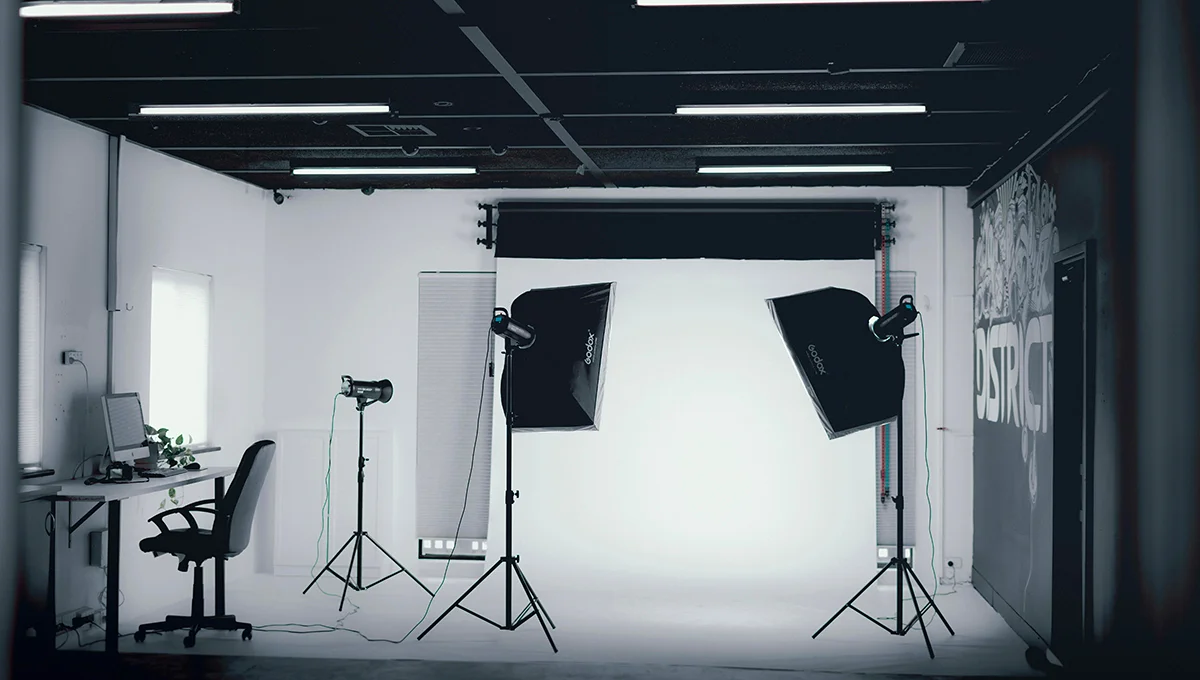
Lighting Setup
Lighting is very important for product photoshoots. Because it helps to control the quality and look of an image. For beginners, continuous LED panels are easy to control and perfect for learning. For professionals, studio strobes with softboxes provide precision and power.
Backdrops
A white or neutral-colored backdrop is ideal for e-commerce because it keeps the focus on the product. For lifestyle or brand photos, experiment with textured backdrops like wood, marble, or colored paper that match your brand’s mood.
Shooting Table or Surface
Flat lay photography often involves a shooting table. A dedicated shooting table provides stability. For small products like jewelry or cosmetics, a tabletop light tent can create a mini-studio setup with perfect diffused light.
Props
Lifestyle photography often uses some props to capture a perfect shoot. Props help tell the product’s story. For example, adding fabric swatches near clothing, ingredients near skincare, or styled décor around furniture.
Storage and Backup
Finally, a storage or backup system to store the photos for future use. It’s not good to overlook the importance of safe storage. Nowadays, there are many companies that provide cloud backup systems. It’s really convenient.
How To Take Good Product Photos? (Step-by-Step Guide)
In the beginning, product photography looks complex. But trust me, it’s easy when you understand the process. It’s a creative and rewarding experience. Here’s a complete step-by-step breakdown to help shoot professional-quality product photos.
Step 1: Plan and Prepare Your Shoot
Product placement and proper planning are important for photography. It’s a preparation. Prepare a shot list and decide what types of images need to be photographed (white background, lifestyle, detail, etc.). Inspect the products carefully and organize them so the shoot runs smoothly.
Step 2: Set Up Your Background and Scene
After that, select the background based on the brand’s requirements. For e-commerce, a white background is the industry standard. If you need a lifestyle photoshoot, then you need to use props. Keep your setup minimal. Too many props can make the product lose focus.
Step 3: Arrange Your Lighting
Lighting is the heart of product photography. Use two or three-point lighting for most products. One key light, one fill light, and sometimes a backlight to separate the subject from the background. Diffuse the light using a softbox or white fabric to avoid harsh shadows.
Step 4: Position the Camera and Adjust Settings
Mount the camera on a tripod for consistent shoots. Use a low ISO (100–200) to avoid noise, an aperture around f/8 to f/11 for sharp focus, and adjust shutter speed based on your lighting. Keep the lens parallel to the product to maintain proportion and minimize distortion. Always shoot in RAW format for maximum editing flexibility later.
Step 5: Compose and Take Multiple Shots
It’s good to take multiple shots. Before capturing the final shoot, start experimenting with angles (front, side, back, and top-down). If you’re shooting for 360º product views, rotate the product slightly and capture it from every few degrees for a complete, interactive experience.
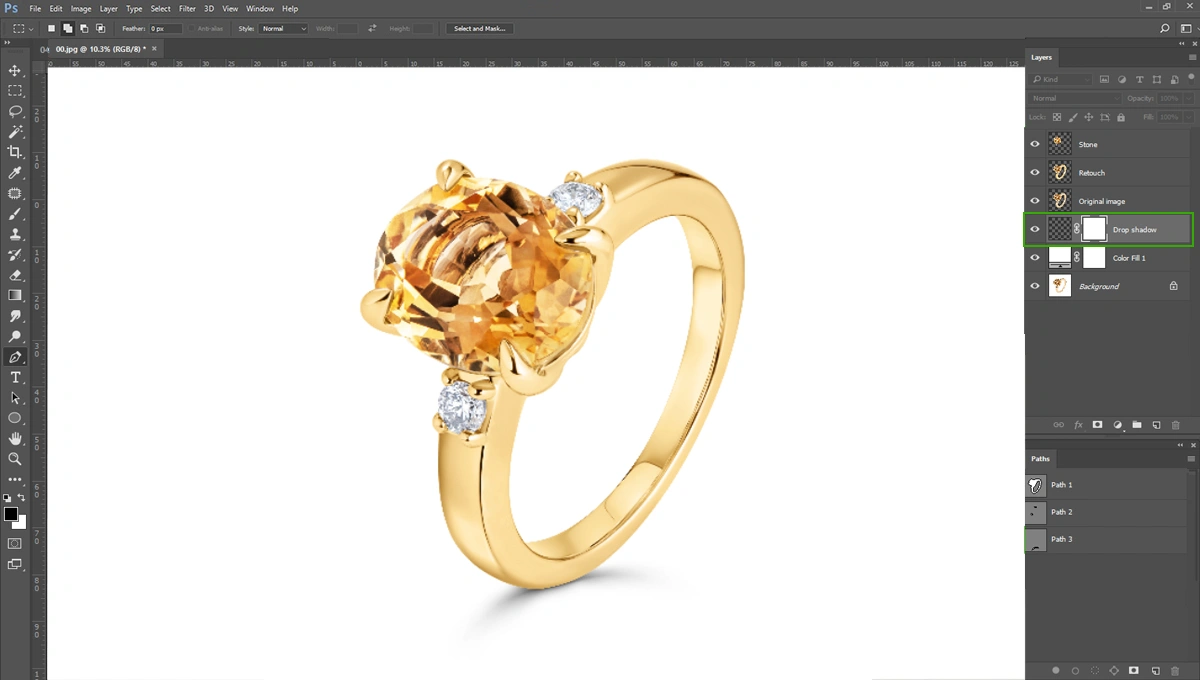
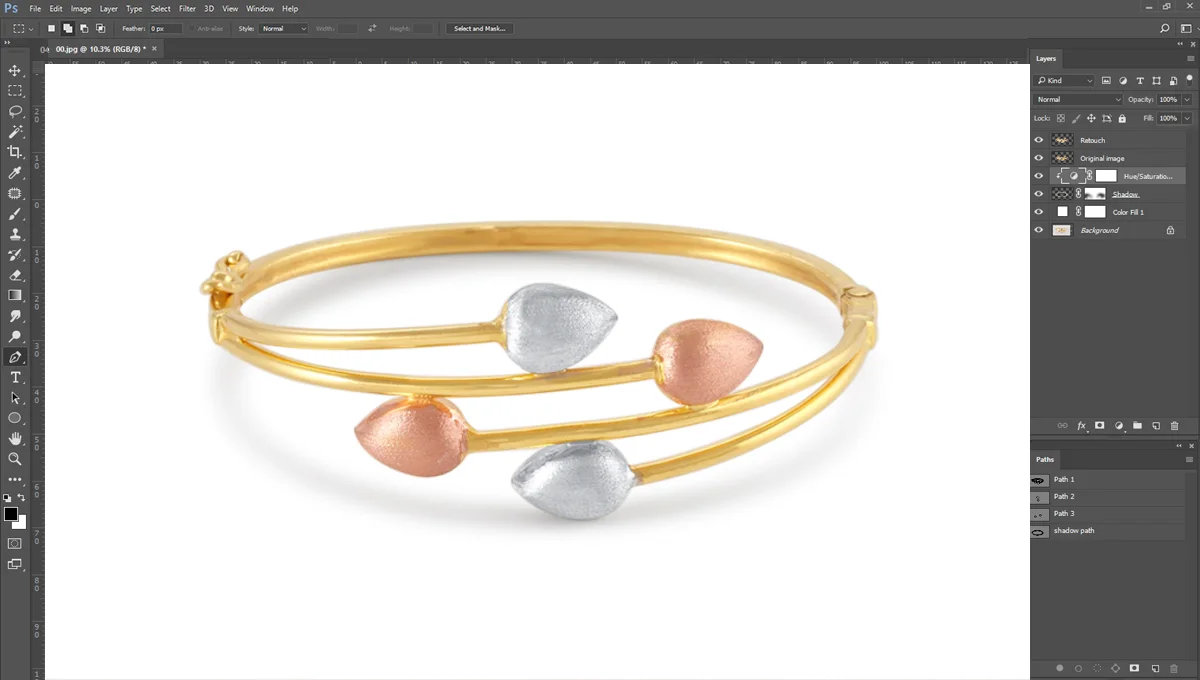
Step 6: Review and Post-Process The Images
After shooting, review all the images and select the best ones. Then move on to post-production. At Glossy Retouching, we retouch each photo using techniques like background cleanup, color correction, dust removal, and shadow enhancement to create flawless, print-ready visuals.
Step 7: Export and Optimize for Use
After retouching the images, export them in the right file format. For e-commerce, JPEGs with high compression and optimized dimensions work best. For print or large banners, go for high-resolution TIFF or PNG files.
Additional Tips and Best Practices for Better e-commerce Photos
There are small details that often make the biggest difference in product photography. Here are some of our essential photography tips and best practices to help you create e-commerce images that stand out and sell-
- Keep lighting uniform across all product photos to maintain a professional and cohesive look.
- A simple white or neutral backdrop helps the product stand out and look clean.
- Highlight textures, finishes, and intricate features to give shoppers confidence.
- Retouch images to remove dust, scratches, and imperfections for a polished finish.
- Use the same framing, angles, and color tones across your catalog to strengthen brand identity.
Common Mistakes in Product Photography (and How to Avoid Them)
- Overexposed lighting: Too much light can wash out product details and colors. Balance your lighting setup and adjust exposure to retain texture and depth.
- Poor color accuracy: Inaccurate colors can mislead customers and increase returns. Always use proper white balance and color calibration tools to ensure true-to-life tones.
- Not using tripods: Handheld shots can cause unwanted blur or inconsistent angles. A sturdy tripod ensures sharpness and consistency across every photo.
- Ignoring reflections: Glossy or metallic products can easily capture unwanted reflections. Use diffusers or polarizing filters to control glare and achieve a clean, professional look.
Product Photography Examples
How to Start a Product Photography Business (Step-by-Step Guide)
Starting a product photography business can be exciting and profitable. In recent years, the product photography market has been growing steadily. The Global product photography services market size is valued at USD 0.96 billion in 2026 (according to Business Research Insights). Especially with the rise of e-commerce, Amazon sellers, and DTC (Direct-to-Consumer) brands. But to get started, you need the right plan, setup, and skills. Here’s how:
Learn the Basics and Practice Daily
Start learning the basics of photography like lighting, composition, and camera settings. Start with a DSLR or a mirrorless camera with a good lens. Practice shooting simple objects (like bottles, shoes, or jewelry) under different lighting conditions.
Set Up a Small Home Studio
You can start from your own room or a small rented space. Use a plain white or colored backdrop, a sturdy table, and continuous lights or softboxes. Over time, you can add reflectors, diffusers, and a turntable for 360° shots.
Build a Portfolio That Sells
A good portfolio with product photos is the strongest marketing tool. Capture 10–15 products in different categories and upload the work to Behance, Instagram, or your website.
Find Clients and Start Marketing
Reach out to small online sellers, local boutiques, or e-commerce brands. Offer them a trial shoot or discount the first project. Use social media to share behind-the-scenes content and product shots. Join freelancer platforms or list your service on Google Business to attract local clients.
Conclusion
Product photography is not about only taking a picture; it’s about creating visuals that sell. In today’s advanced AI-enhanced world, 3D images have evolved into a crucial part of every e-commerce. Quality product images are the best investment for marketing. With the right setup, lighting, and post-production, even simple products can look premium and desirable.
At Glossy Retouching, we’ve seen how professional product photos supported by expert editing can transform how customers perceive a brand. If you’re ready to take your visuals to the next level, our team is here to help with precise, high-end retouching and editing that make your images truly shine.
Because in today’s visual world, your product doesn’t just need to be good — it needs to look extraordinary.
FAQ for Product Photography
What is needed for product photography?
To start product photography, you’ll need a good camera (DSLR or mirrorless), a sharp lens, proper lighting (softboxes or continuous lights), a tripod, and clean backdrops. You can begin with a simple setup at home and upgrade over time. Consistent lighting and a clutter-free background are key to producing professional-quality photos.
Where is product photography used?
Product photography is used across e-commerce websites, social media, digital ads, catalogs, packaging, and print media. From online marketplaces like Amazon and Shopify to brand campaigns and billboards.
How to start in product photography?
Start by learning lighting techniques and composition. Practice photographing small items around you to understand angles and reflections. Build a portfolio that highlights different product types like fashion, jewelry, or electronics.
What are the three types of photography?
While there are many genres, the three main types are commercial photography (for advertising and business), portrait photography (focusing on people), and artistic photography (for creative or expressive purposes). Product photography falls under the commercial category because its main goal is to sell or market a product.
Is product photography difficult?
At first, it might seem challenging. Especially when dealing with lighting, reflections, and textures. But with practice, patience, and the right equipment, anyone can master it. The good news? Once you understand lighting and angles, it becomes one of the most rewarding and creative fields of photography.