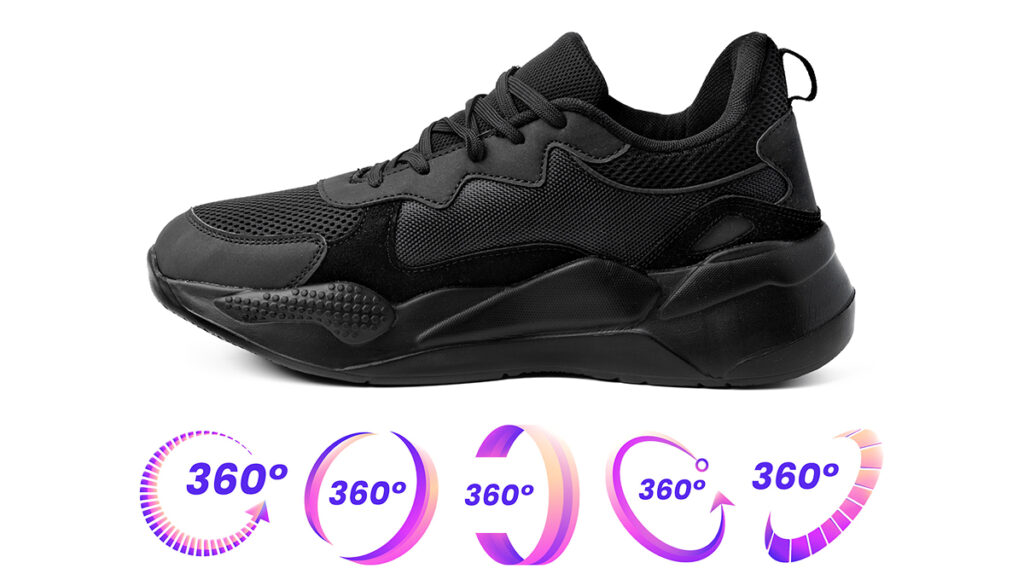
Have you ever thought that the product photos can be rotated 360 degrees on the website?
If you are a product photographer, you can notice that many brands use a 360-degree interactive feature on their website.
In that feature customer can rotate and examine the product more efficiently. The photos that are used in this interactive feature capture through 360 product photography.
A study of CXL demonstrated that interactive product views can increase online conversion rates by up to 27% compared to static images.
When the customers rotate and examine the product from every angle, they feel confident to buy that product. That’s why 360 product photography is becoming popular.
Now, if you are thinking of improving your product photography style, you should add 360-degree photography. Because most of the brands are looking for this solution.
This guide walks you through everything you need to create professional 360 product photography (the essential equipment, step-by-step shooting process, and software options for creating interactive experiences).
What is 360 Product Photography?
360 product photography is a technique that captures a series of product images at specific degree intervals. Usually, this photography sequence captures 24 to 36 images for a complete horizontal rotation. Some premium applications may use 72 or more images for smoother interaction.
These individual images are stitched together using dedicated software. After that, it’ll be uploaded to the interactive viewer. When uploaded on a website or product page, customers can click and drag their mouse (or swipe on mobile devices) to rotate the product in any direction.
There are two primary types of 360 product photography:
Single-row 360 photography
This 360 photography can capture images around the horizontal axis only. This way, the customer can spin the product left and right. This is the most common format and works well for most products.
Multi-row 360 photography
This photography technique can capture multiple horizontal rotations at different heights. This creates a true spherical view of the product. It allows customers to examine the product from above, below, and all around. But this technique is complex to create, but it provides the most comprehensive product visualization.
This one is popular in augmented reality (AR) applications. Amazon and other e-commerce businesses are using it.
Any business selling products (furniture, electronics, and footwear) online can benefit from this technology.
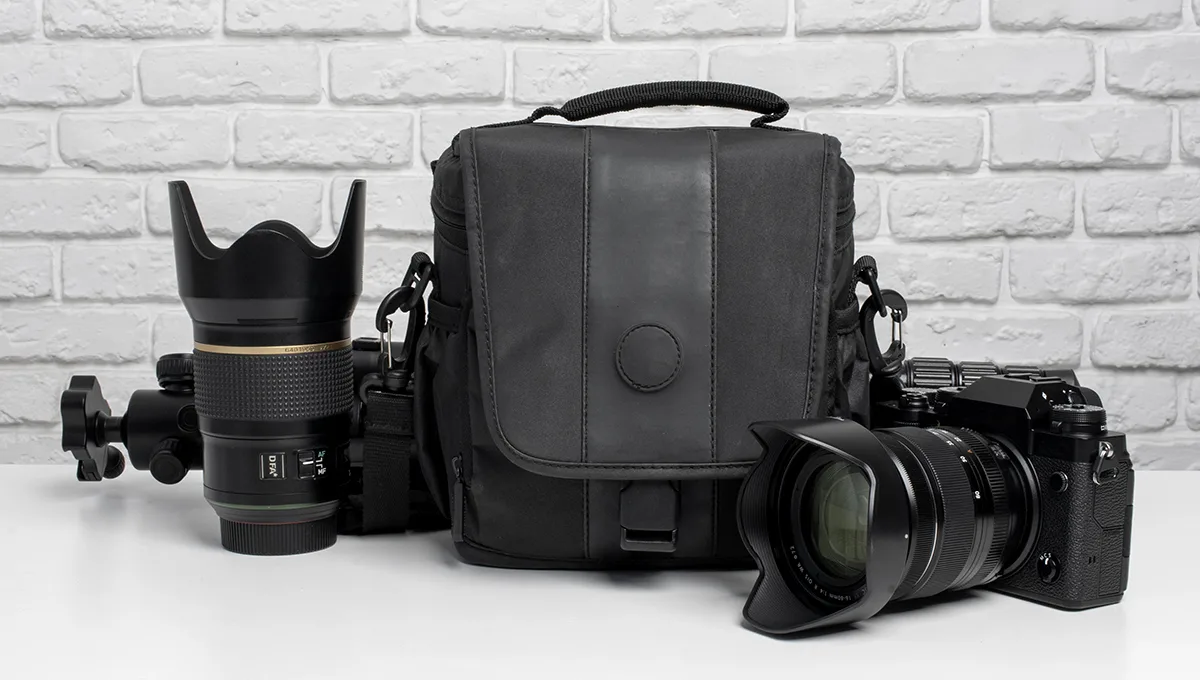
Essential 360 Product Photography Equipment
Professional 360 product photography requires specific equipment, but you don’t need to empty your budget to get started. Here’s what you need to know about each photography component.
Camera Options:
DSLR and Mirrorless Cameras are good for camera options. These 2 cameras offer the manual controls necessary for consistent image quality. If you are on a budget, Canon and Sony will be a good choice for you. Canon EOS Rebel T7i or Sony Alpha a6000 provide excellent image quality at reasonable prices (typically $500-$800 with kit lens).
Mid-range options such as the Canon EOS 90D or Sony A7 III ($1,200-$2,000) offer superior resolution and more robust feature sets.
Professional photographers working with high-value products might consider full-frame cameras like the Canon EOS R5 or Sony A7R IV ($3,500+).
360 Product Photography Turntable:
Automated turntables are the backbone of efficient 360 spin product photography. These motorized platforms rotate your product at precise intervals, ensuring consistent spacing between shots.
Budget-friendly turntables ($100-$399) like the Foldio360 Smart Dome or ORANGEMONKIE Foldio360 work well for small to medium products up to 5 pounds. They typically offer 24-36 preset stops and connect via smartphone apps.
Mid-range options ($300-$800) such as the Arqspin or Ortery PhotoBench 260 handle heavier products (up to 20 pounds) and provide more precise rotation control, variable speed settings, and integration with professional cameras.
Professional turntables ($800-$3,000+) like the PackshotCreator or Ortery 3D PhotoBench support products up to 50+ pounds, offer multi-row capabilities for spherical photography, and include advanced features like synchronized lighting and camera control.
For photographers on extremely tight budgets, a DIY turntable can be constructed using a lazy Susan bearing, plywood circle, and degree markers. Manual rotation requires more time and discipline but can produce acceptable results for those willing to invest the effort.
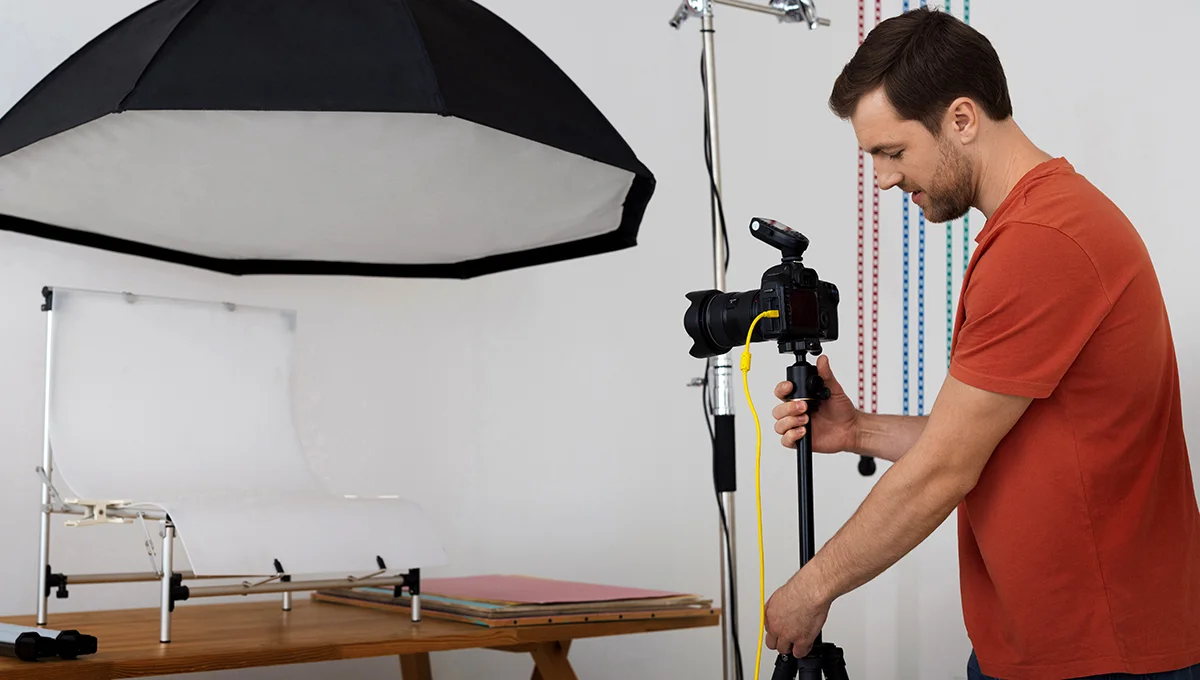
Lighting Setup
Consistent, diffused lighting is absolutely critical for professional 360 product photography. As the product rotates, any lighting variations become glaringly obvious in the final animation.
A basic three-point lighting setup works well for beginners:
- Key light: The primary light source, positioned at about 45° to one side of the product
- Fill light: A softer light on the opposite side of the product to reduce shadows
- Back light: A light behind and slightly above the product to create depth and separation from the background
Continuous LED lighting is preferable to flash for 360 product photography.
Small note: “While LEDs are great for beginners to see shadows in real-time, professional studios often use high-speed strobes to ensure zero motion blur and perfect sharpness at small apertures.”
Continuous lights let you see exactly how shadows and highlights fall as the product rotates, making adjustments easier. Look for LED panels with adjustable color temperature (5000-5500K for neutral daylight) and brightness control.
If you wanted to know more about lighting system you can read “Master the Lighting in Studio Photography: The Ultimate Beginner’s Guide”
Additional Equipment
Tripod: A stable camera is very important for 360 rotating product photography. Even the slightest camera movement between shots ruins the product photos’ consistency. Invest in a sturdy tripod with a fluid head for precise positioning. Budget options start around $50, while professional tripods run $200-$500.
Backdrop: Most 360 product photography uses solid white backgrounds for clean, professional results. Seamless white paper ($30-$50 per roll) or vinyl backdrops ($50-$100) work well. For products that will be dropped onto transparent backgrounds, a neutral gray backdrop simplifies editing.
Remote shutter release or tethering software: Touching the camera to take photos introduces shake. A wired or wireless remote release ($20-$50) eliminates this issue. Alternatively, tethering software that connects your camera to a computer allows you to trigger shots remotely while monitoring results in real-time.
Light tent or photo box: For products under 24 inches, a dedicated light tent ($50-$200) creates perfectly diffused lighting and includes integrated backdrops. Many fold flat for easy storage.
Color calibration tools: A color checker card ($100-$300) ensures accurate, consistent colors across your entire image sequence. This is particularly important for fashion, cosmetics, or any product where color accuracy matters to customers.
How to Shoot 360 Product Photography (Step-by-Step)
360 spin product photography follows a systematic process. Consistency is everything. A well-organized photography system can deliver ultimate 360-degree results. Here are the step-by-step how you can shoot the product in 360 degrees.
Step 1: Prepare Your Workspace
Select a space where you can control lighting completely. Natural light from windows can create inconsistencies in the image sequence. So, preparing an interior room without windows is ideal for photoshoot environment. If the studio has windows, then use blackout curtains to eliminate natural light entirely.
Set up the backdrop. Make sure that it’s smooth and wrinkle-free. Position it to extend several feet behind and beneath the product. Keep in mind that a seamless background without visible edges or corners.
Place the turntable on a level surface. Use a bubble level to ensure it’s perfectly horizontal. Position the turntable where your camera can capture it at the appropriate height and distance.
Clear away any distracting elements from the shooting area. Reflective products will reveal everything around them, so remove clutter, equipment, and anything else that might appear in reflections.
Step 2: Position and Secure Your Product
Center the product carefully on the turntable. The product’s center of gravity should align with the turntable’s rotation axis. If the product sits off-center, it will appear to wobble in the final animation.
Consider the product’s most attractive starting angle (front side will be good to start). This will be the first frame customers see before they interact with the 360 view.
Secure lightweight items to prevent movement during rotation. Museum putty, double-sided tape, or mounting putty work well for this purpose. The product needs to rotate with the turntable as a single unit without shifting position.
If you need to reposition the product mid-shoot, mark its starting position with tape or a removable marker. This allows you to return it to exactly the same location if necessary.
Step 3: Set Up Your Camera
Position your camera at the appropriate height and distance. For most products, eye-level with the product’s center creates the most natural viewing perspective. The distance depends on the lens focal length. Typically 24-85mm lenses work well for product 360 photography.
Frame the shot with some breathing room around the product. You can always crop tighter in post-processing, but you can’t add space that wasn’t captured.
Lock all camera settings to ensure absolute consistency:
- Aperture: Use f/8 to f/11 for adequate depth of field while maintaining sharpness
- Shutter speed: Fast enough to freeze any vibration (typically 1/125s or faster)
- ISO: As low as possible while maintaining proper exposure (typically 100-400)
- White balance: Set manually to match your lighting temperature (typically 5000-5500K)
Switch to manual focus and focus carefully on the product. Autofocus may hunt between shots or focus on different points as the product rotates, creating inconsistency.
Shoot in RAW format rather than JPEG. RAW files preserve maximum image data, giving you more flexibility during editing while maintaining quality across all frames.
Step 4: Test and Calibrate
Before shooting your full sequence, test the setup thoroughly. Take several shots at different positions around the product’s rotation.
Review these test images carefully:
- Is the exposure consistent in all positions?
- Does the product remain in perfect focus throughout?
- Is the product centered in the frame at all angles?
- Are there unwanted shadows or reflections as it rotates?
This is the time to refine your lighting. Adjust light positions and intensities to eliminate shadows that appear at certain angles. For reflective products, adjust lights to minimize distracting reflections.
Verify that nothing in your setup moves between shots. The camera, tripod, lights, backdrop, and turntable must all remain perfectly stationary throughout the entire shooting session.
Step 5: Capture Your Image Sequence
Determine how many images you need for your 360 product photography sequence:
- 24 images (15° intervals): Basic quality, suitable for simple products
- 36 images (10° intervals): Good quality, the most common choice
- 72 images (5° intervals): Premium quality, very smooth rotation
More images create smoother animations but increase shooting time, storage requirements, and processing complexity.
If using an automated turntable, program it with your desired number of stops. Set your camera to remote or intervalometer mode, start the sequence, and let the system run. Most automated turntables can trigger your camera at each stop, creating a hands-free shooting experience.
If rotating manually, use the degree markers on your turntable to ensure consistent intervals. Take extreme care not to bump the camera or tripod between shots. Maintain rhythm and consistency in your manual rotation process.
A complete 36-image sequence typically takes 5-10 minutes to shoot, depending on the setup’s automation level.
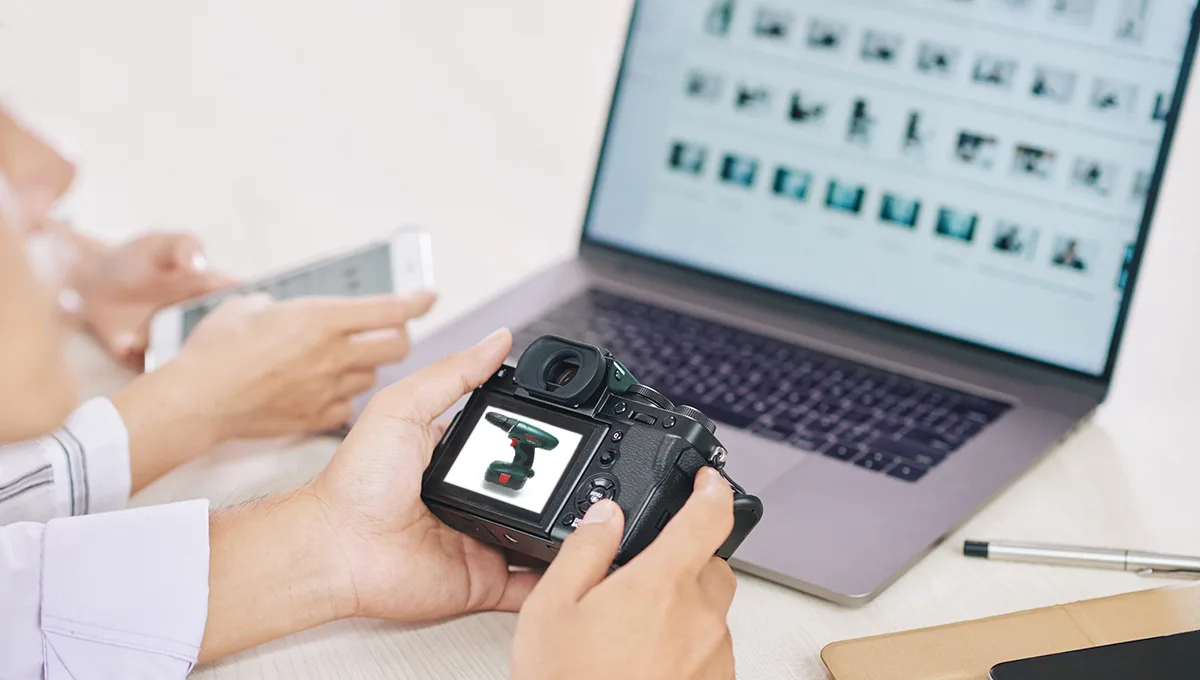
Step 6: Review the Images
Once shooting is complete, quickly scan through the entire image sequence before dismantling your setup. Look for:
- Frames where the product may have shifted position
- Exposure variations between images
- Focus issues in any frames
- Unwanted reflections or shadows
Use the camera’s playback mode to flip rapidly through the sequence. The product should appear to rotate smoothly without jumping or shifting position.
If you identify any problematic frames, reshoot them immediately while your setup remains unchanged. Even one inconsistent image can disrupt the final animation.
Transfer your images to your computer and back them up before breaking down your setup. Better to have redundant copies than to discover a problem later when reshooting isn’t possible.
360 Product Photography Software
Once you’ve captured your image sequence, specialized software stitches these individual frames into an interactive 360 view. The software market offers solutions at various price points and complexity levels.
Stitching Software Options
Professional Solutions provide advanced features and the highest quality output:
- Sirv ($19-$999/month): Cloud-based platform with unlimited 360 spins, zoom capabilities, and excellent performance. Includes hosting, so your 360 views load quickly without slowing down your website.
- Adobe Animate ($22.99/month as part of Creative Cloud): Professional animation software capable of creating 360 product photography, though it requires more technical knowledge.
Mid-Range Options balance functionality with affordability:
- WebRotate 360 ($459-$689 one-time): User-friendly software with good customization options and responsive output. Includes features like auto-spin, zoom, and full-screen viewing.
- Spinzam ($99/year): Accessible online tool that creates 360 views quickly. Includes basic customization and provides embed codes for easy website integration.
Budget-friendly alternatives work well for photographers just starting with 360 product photography:
- RICOH THETA (Free): Originally designed for 360-degree photography, this software can be adapted for product use.
- Several open-source solutions exist on GitHub, though they require technical knowledge to implement.
Image Editing For 360 Product Photography
Image editing is very crucial after the photoshoot. Consistent editing is critical in post-processing than in shooting. Any variations in color, exposure, or editing between frames become glaringly obvious when stitched into an animation. Here are some tips for 360 images editing-
Image Editing Before Stitching
Edit images before stitching them together, not after. This gives you full control over each frame while ensuring consistency across the entire sequence.
Batch editing is essential for maintaining consistency. Import your entire image sequence into Adobe Lightroom or a similar program that supports synchronized edits across multiple images.
Make your adjustments to the first image in the sequence:
- Exposure correction: Adjust brightness if needed
- White balance: Ensure accurate, neutral colors
- Contrast and clarity: Enhance definition without oversharping
- Color correction: Adjust individual color channels if necessary
- Background removal or cleanup: Remove imperfections in the backdrop
Once you’re satisfied with these adjustments, synchronize them across all images in the sequence. This ensures every frame receives identical treatment.
For background removal, consider using specialized tools like remove.bg or Photoshop’s “Select Subject” feature. Many 360 product photography studios remove backgrounds entirely, replacing them with pure white or transparent backgrounds. If you do this, you must remove the background from every single frame using identical settings.
Minor blemish removal can be performed on individual frames if needed—small dust spots or product imperfections. However, avoid making changes that affect the product’s actual appearance, as these inconsistencies will be visible in the final 360 view.
Export all edited images in a consistent format. Most 360 product photography software works best with JPEG files at high quality settings (90-100%). Maintain your original numbering sequence so the software can arrange them correctly.
Start your Journey in 360 Product Photography
Back then, 360 product photography was a premium feature. But now it’s an ultimate expectation for online shoppers. The technology is more accessible than ever. From equipment to software options available at every price point. The business opportunity is high for a photographer.
Simply start with a decent camera, motorized turntable, consistent lighting, and user-friendly stitching software. Focus on mastering the fundamentals of consistent shooting before investing in advanced equipment or techniques.
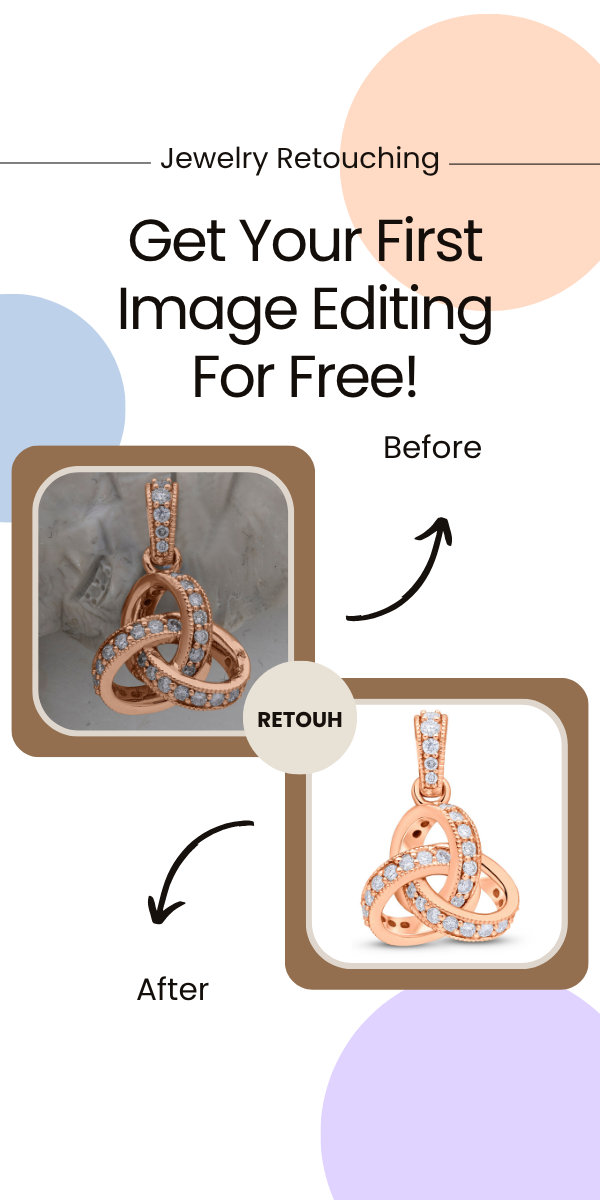
If you prefer to focus on shooting rather than post-production. Then professional image editing services can help you out. Get your 360 product photography edited by us and deliver interactive experiences that convert browsers into buyers.
The future of e-commerce is interactive, immersive, and as close to the in-store experience as technology allows. 360 product photography puts you ahead of that curve.