Jewelry photography is a unique challenge for experienced photographers. The small, reflective surface and metal details need precision in photography. It’s kind of pressure to showcase the expensive piece for online sales.
Good jewelry photography isn’t just about pretty pictures; it’s about showing the jewelry product with details to build trust with potential customers. Online customers buy products from websites. They can’t touch the product physically while buying. If the website has blurry product images, that can make a difference in sales. Only stunning photos can transform sales and increase ultimate revenue.
We have gathered 13 practical tips that address the most common jewelry photography challenges. You’ll learn simple setup techniques, studio lighting solutions that eliminate unwanted reflections, and editing tricks that make your pieces look their absolute best.
Preparation: Setting the Stage for Success
Tip 1: Clean the Jewelry Carefully
Before starting the jewelry photoshoot, the product needs to be spotless. Every fingerprint, dust particle, and water spot will appear magnified in the final images. Use a microfiber cloth and appropriate cleaner for each material. Be careful with the product while doing the cleaning. What works for gold might damage delicate pearls or gemstones.
While handling the pieces, use the cotton gloves. It’ll be easy to handle. This prevents new fingerprints and oils from the surface. Keep cleaning supplies within arm’s reach during your shoot, as you’ll likely need touch-ups between shots.
Tip 2: Choose the Background Wisely
While choosing the background, please keep in mind that the background should be complementary, not competitive. Plain, neutral backgrounds work best for most pieces. Mostly e-commerce companies prefer a white background. Some companies want a clean, modern look, light gray.
If the client wants to add more visual then add subtle textures like marble, linen, or velvet. But remember, the jewelry should always remain the main focus of the photos. Test different backgrounds with a specific piece (ring, necklace, earrings, etc.).
Tip 3: Use a Stable Tripod
Sharp images are non-negotiable in jewelry product photography. A tripod provides the stability necessary for crisp shots, especially when using narrow apertures or macro lenses that require precise positioning. Even the slightest camera movement can blur intricate details that customers want to see.
Improve the tripod’s effectiveness by using a remote shutter release. This can help to eliminate the camera shaking when pressing the shutter button manually. The images will be noticeably sharper.
Lighting & Setup: Bounce the Light
Tip 4: Use Soft, Diffused Light
Harsh light creates unflattering shadows and highlights. It can damage jewelry details in photos. Use the soft and diffused light to wrap around the pieces evenly. It can help to reveal the true beauty of the piece.
Natural light from a large window sometimes does not work well. Jewelry photography needs soft light. Which doesn’t have in sunlight. For consistent results, invest in a lightbox or softbox kit. These tools provide a controlled lighting system that can help you shoot professionally.
Tip 5: Combat Reflections (The #1 Challenge)
One of the major issues that product photographers face is reflection. Shiny metal surfaces and gemstones act like mirrors. It can reflect the camera, light, or even the photographer’s reflection itself in the final image.
A light tent helps to minimize unwanted reflections. It’s easy to build with foam. Use white foam boards positioned around the jewelry. These boards bounce light back into shadowed areas while blocking reflections of equipment and surroundings.
Position the camera and lighting carefully. Make sure it didn’t appear in a reflective surface. Sometimes, a slight angle adjustment can make a difference in reflection while maintaining the composition.
Tip 6: Don’t Forget the Diamonds
Gemstones need direct light to show their brilliance. While the main light should remain soft and diffused, add a small focused light source to hit the face of the diamonds.
There is another solution. Use the small LED panel, or even the phone’s flashlight, as this accent light. Position it to the stone’s face without over-lighting the rest of the piece. This technique can work on gemstones and create their sparkle.
Camera Settings & Composition
Tip 7: Master the Macro Lens
Most jewelry products are small in size, and they require close-up photography capabilities. A dedicated macro lens helps to fill the frame with a single piece. It provides sharp focus across all details. This level of detail builds customer confidence and showcases craftsmanship.
A smartphone can be an option for a photoshoot if you have budget issues. But it’s not quite as powerful as dedicated camera lenses. Some accessories can improve photo quality, but DSLR or Mirrorless camera would be a good option.
Tip 8: Aperture is Key for Sharpness
When photographing jewelry, every detail of the product is important. So, for that reason, it requires a narrow aperture. Typically, f/11 to f/16 provides the depth of the field necessary.
Narrow apertures require lighter or longer exposure times. That’s why it’s essential to have a good tripod. The trade-off in shooting time is worth it for the professional results that come from having every detail in crisp focus.
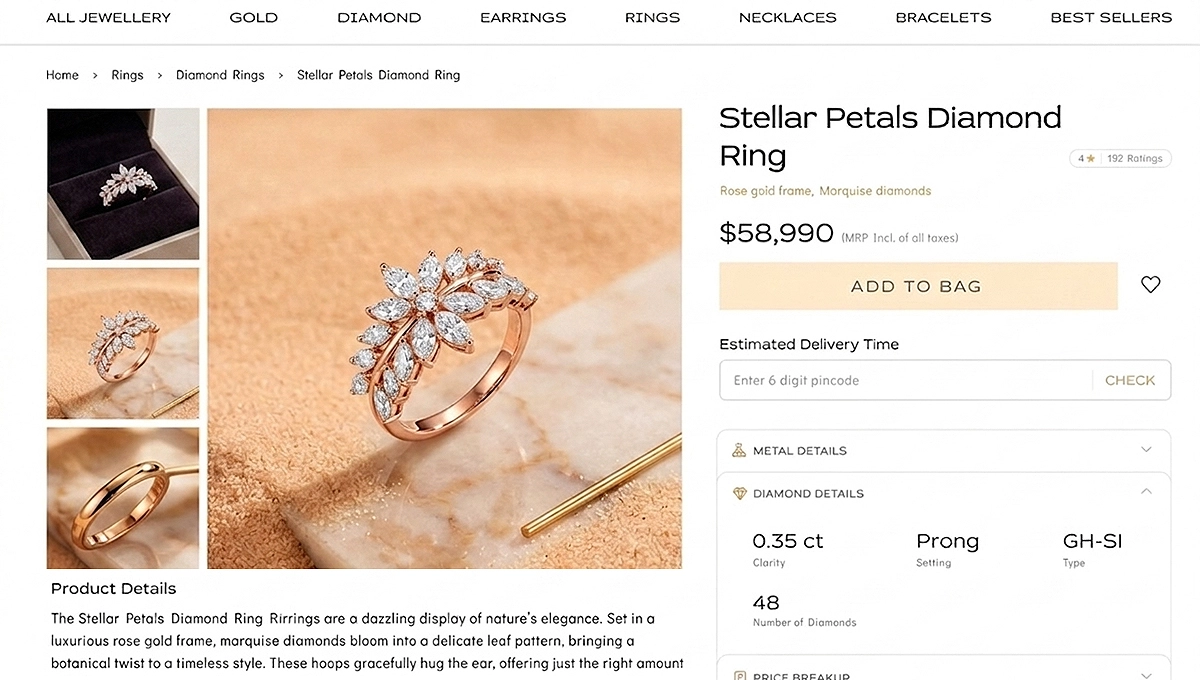
Tip 9: Capture Multiple Angles
Try to photo shoot the jewelry product from various angles. Because online customers examine the product in a physical store. Essential shots include a hero image showing the piece at its best angle. Side views that reveal thickness and profile, detailed shots of clasps or closures, and extreme close-ups of the main features like stone settings or engravings. Each angle serves a purpose in helping customers understand exactly what they’re purchasing.
Tip 10: Show Scale with a Model or Props
Jewelry size can be difficult to judge from product shots alone. Including a model wearing the piece or using props that provide size reference helps customers visualize how the jewelry will look and fit.
A jewelry bust works well for necklaces and earrings, while hands can showcase rings and bracelets effectively. When using props (flowers, books, or fabric), keep them simple and ensure they enhance rather than distract from your jewelry. The goal is to provide scale and lifestyle context without overwhelming your main subject.
Post-Processing & Consistency
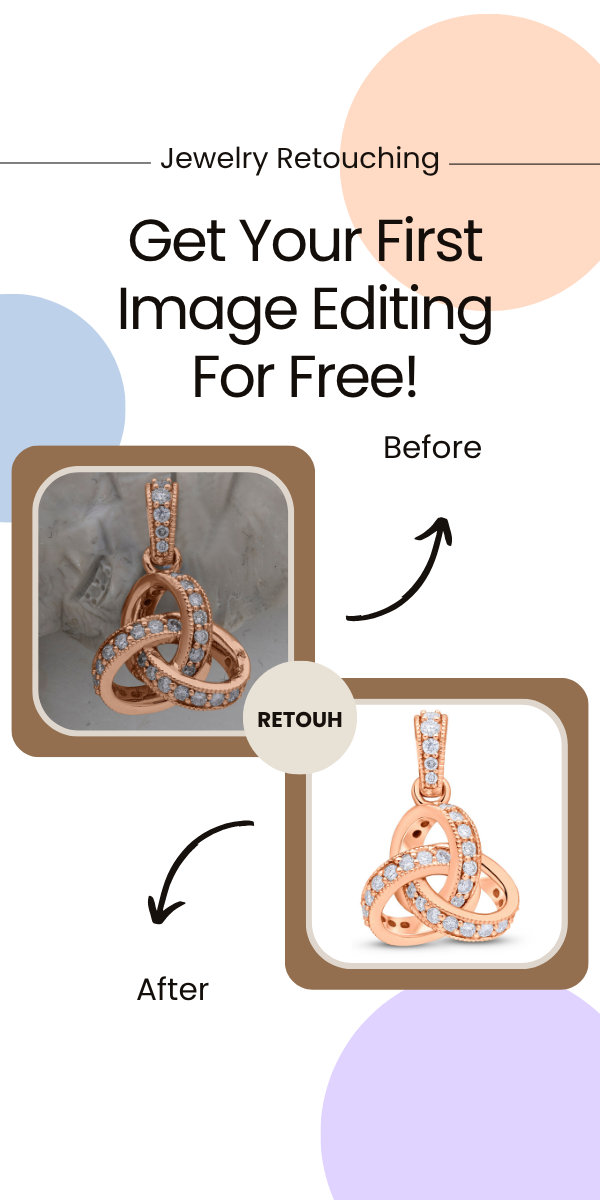
Tip 11: Retouching is Essential
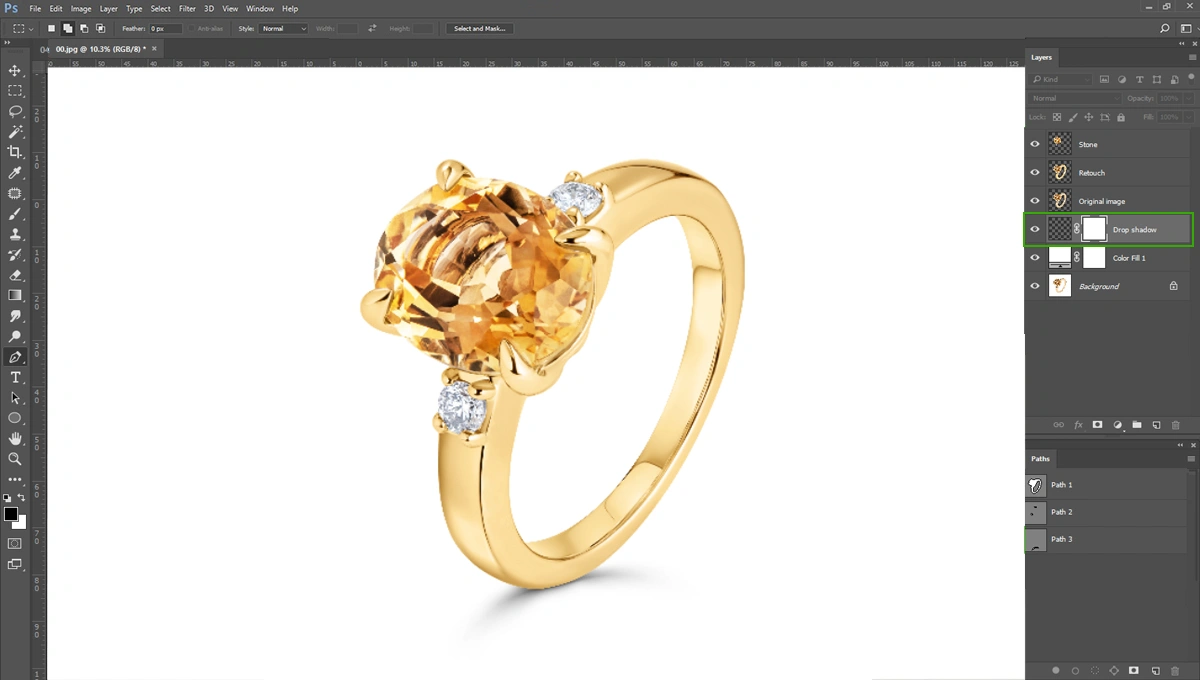
After shooting the perfect jewelry images, these need post-production (retouching). Remove any remaining dust spots, minor scratches, or reflections that couldn’t be eliminated during shooting. Adjust white balance to ensure accurate color representation, which is crucial for customer satisfaction.
Adding a subtle drop shadow beneath pieces photographed on white backgrounds creates a professional appearance. It makes jewelry appear to float above the surface rather than lying flat against it.
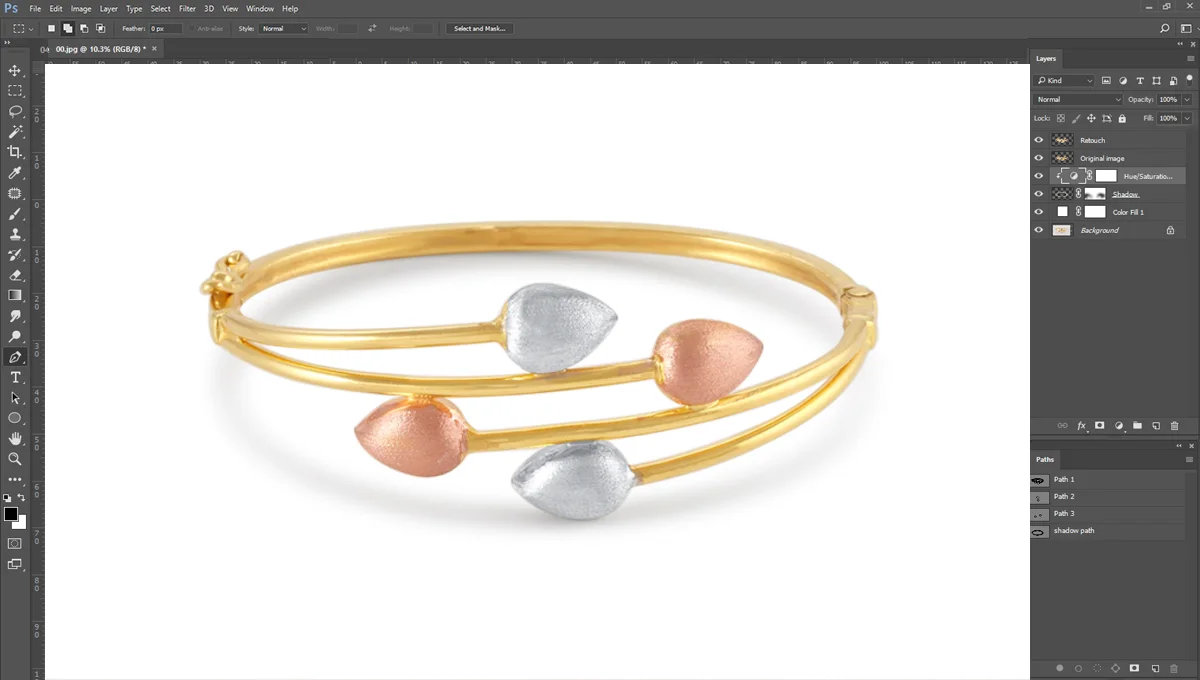
Tip 12: Color Correction for Accuracy
Accurate color representation prevents returns and builds customer trust. Metal tones and gemstone colors must match the physical product as closely as possible. Use color correction tools to adjust any color shifts caused by lighting or camera settings.
Create a consistent editing workflow that ensures all the jewelry appears with accurate colors across different lighting conditions and display devices. This consistency builds brand reliability and customer confidence.
Tip 13: Establish a Consistent Style
Professional commercial photography maintains a consistent style across all product images. Use the same background colors, lighting setup, and editing approach for every piece to create a cohesive brand appearance on your website and social media platforms. There is an option called “Action” in Photoshop. Just create an action based on the first image and then use it on the rest of the images.
This consistency makes your collection appear professional and well-curated. Customers will recognize your brand’s photographic style, which contributes to overall brand recognition and trust.
Transform the Jewelry Photography Today
Mastering jewelry photography requires attention to detail, patience, and practice. The techniques outlined here address the most common challenges you’ll face: maintaining sharpness, controlling reflections, and accurately representing colors and details.
Start with proper preparation—clean pieces and organize your shooting space. Focus on creating soft, even lighting that minimizes reflections while adding strategic accent lighting to bring out.