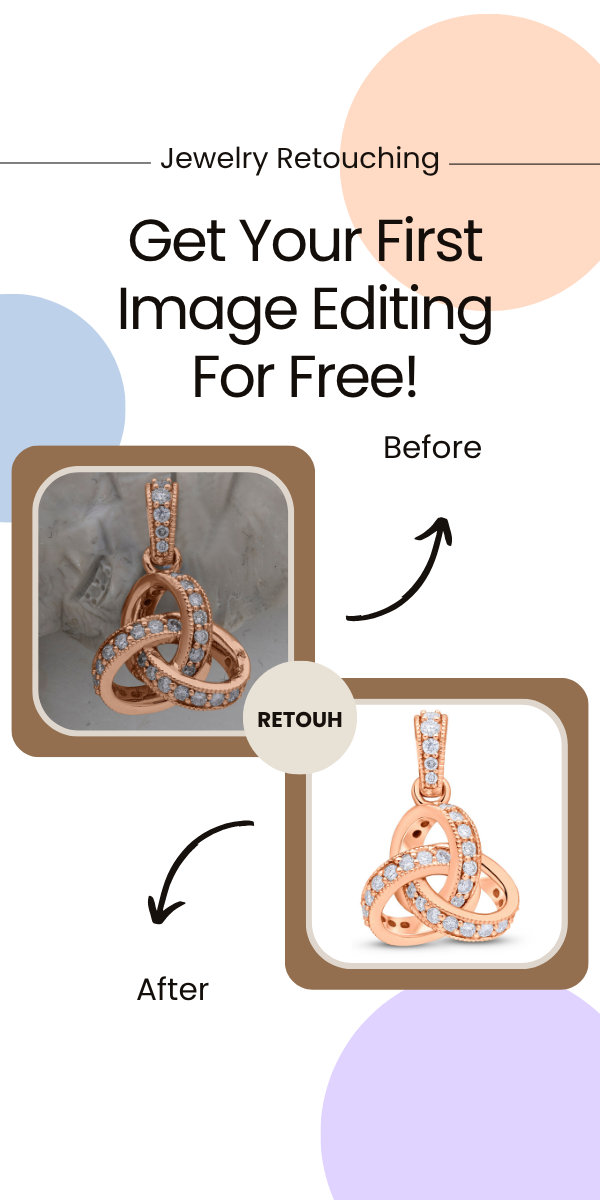
Capture the perfect shot of a diamond ring or a delicate silver necklace is like a battle.
High-quality jewelry images are crucial for jewelry photographers and brand owners. Because it makes a direct link between a browser and a buyer.
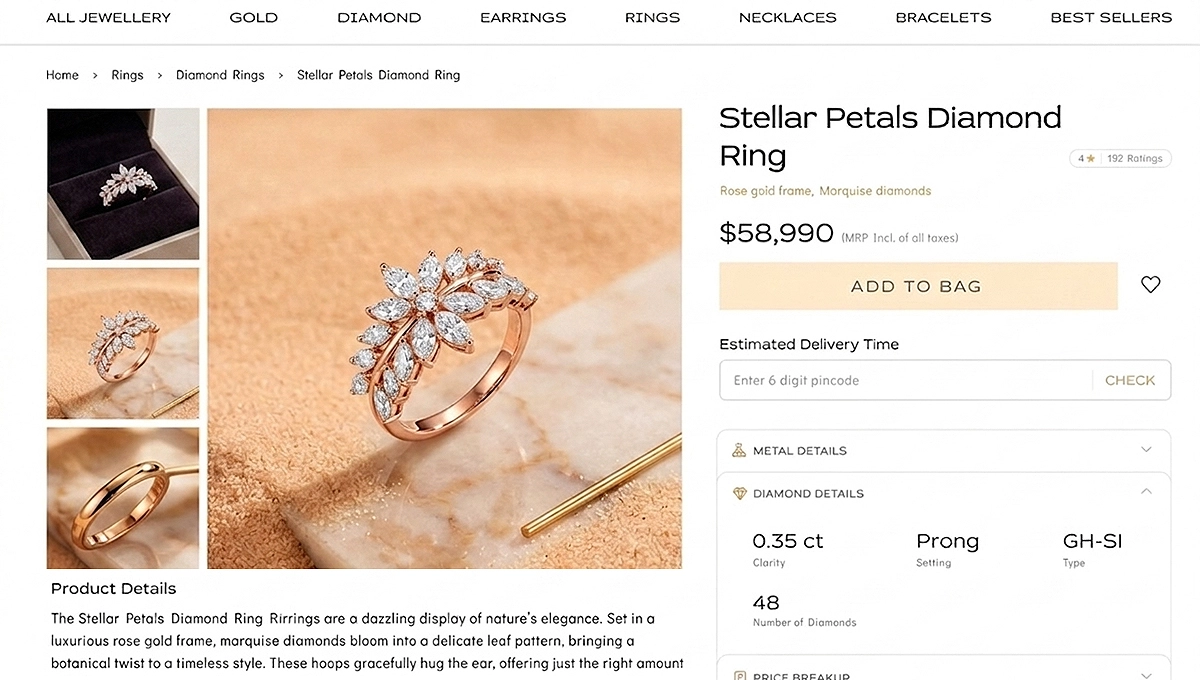
When customers shop for rings, bracelets, and earrings online, they can’t physically touch or try on the pieces. They completely rely on the visual presentation.
That’s why jewelry photographer try their best to shoot the jewelry in shiny metal. But sometimes, a meticulous photography setup will leave with raw images that need a little extra help.
That is exactly where basic jewelry photo editing in Photoshop comes into play. If you want to turn dull, straight-out-of-camera shots into sparkling, professional-grade images, you need to understand the fundamental techniques of digital retouching.
At Glossy Retouching, we do basic jewelry retouch on thousands of photos every month. One thing I noticed is that jewelry retouching is a kind of complicated process for product photographers and brand owners.
That’s why in this guide, I’ll share my exact workflow of basic jewelry photo editing in Photoshop. If you follow these steps, I’m confident that you’ll become an expert on basic jewelry retouching.
But before that, let’s understand first why you need basic jewelry photo editing.
Why You Need Basic Retouching for Your Jewelry Photos
If you are a jewelry photographer and you are thinking of investing in high-end camera equipment and perfect studio lighting might eliminate the heavy Photoshop editing. However, the exact opposite is often true.
Professional macro lenses are incredibly sharp, meaning they capture every tiny speck of dust, stray fingerprint, and microscopic scratch on the surface of jewelry metal.
After completing the shoot, you need basic jewelry retouching to remove the dust, fingerprints, and other distractions.
When customer but jewelry online, they expect shiny jewelry photos on the website. If a shopper zooms in on a gold band and sees smudges or dull metal, they will likely doubt the quality of the actual product and abandon their cart.
It can directly impacts on conversion rate. Industry benchmarks consistently show that high-quality, retouched images significantly increase e-commerce sales.
If the brand’s owner wanted to increase the conversion rate, they definitely need high-quality jewelry photos. We are working with many jewelry brands, and we have seen that they are very concise about their jewelry photos.
If you don’t pay attention to high-quality jewelry photos, you’ll lose sales.
Basic Jewelry Photo Editing in Photoshop (Step-by-Step)
Now, I’m going to share step by step how you can do basic jewelry photo editing in Photoshop. Follow these core steps to execute a professional basic jewelry retouch.
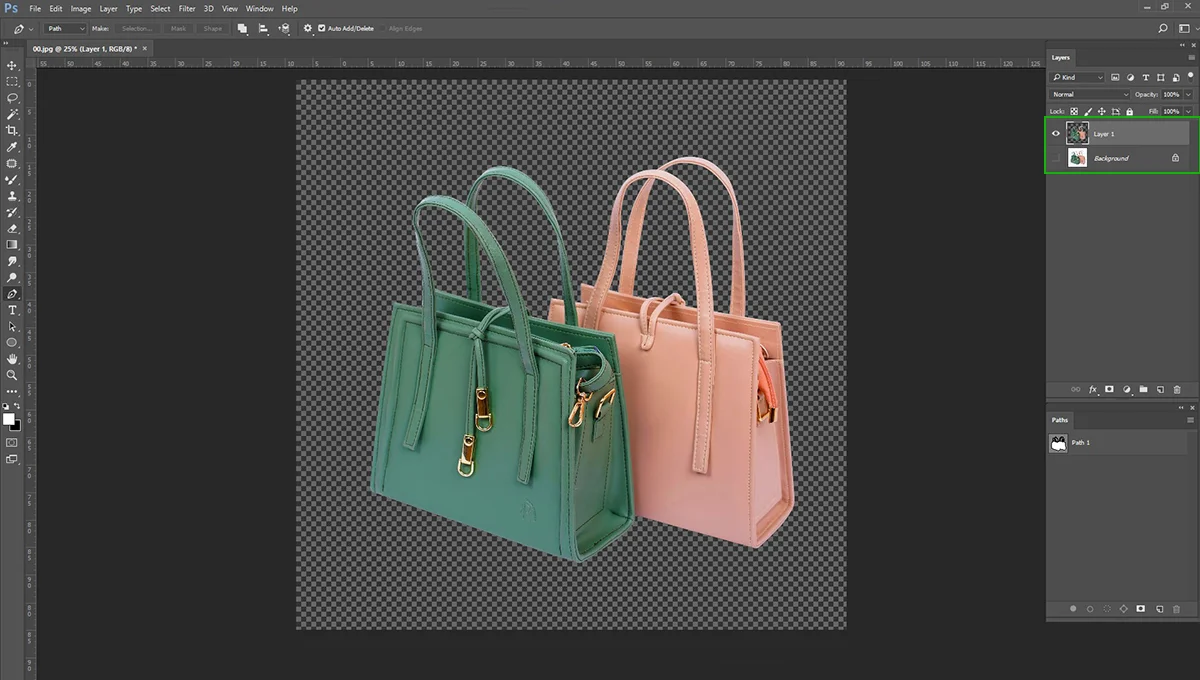
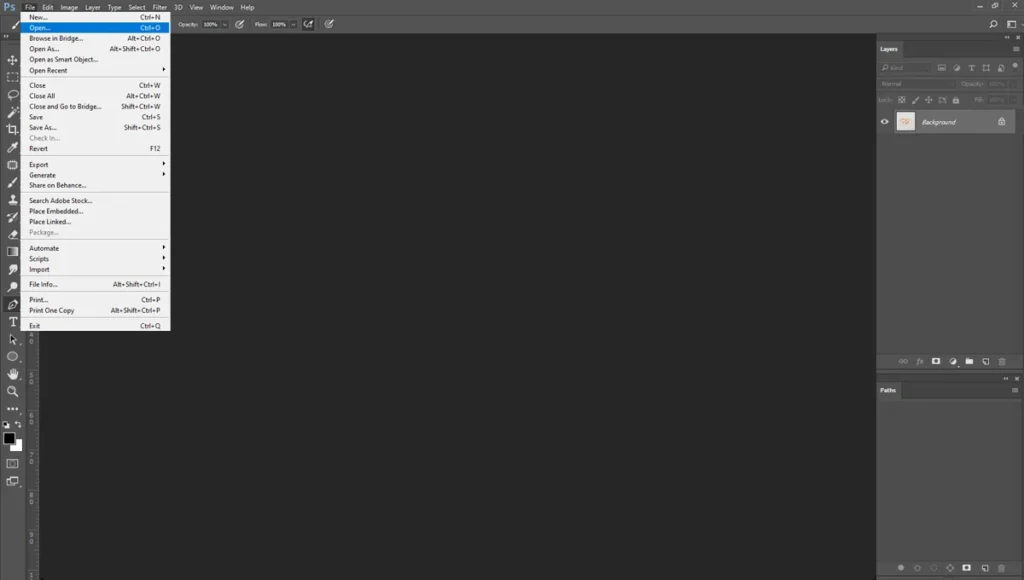
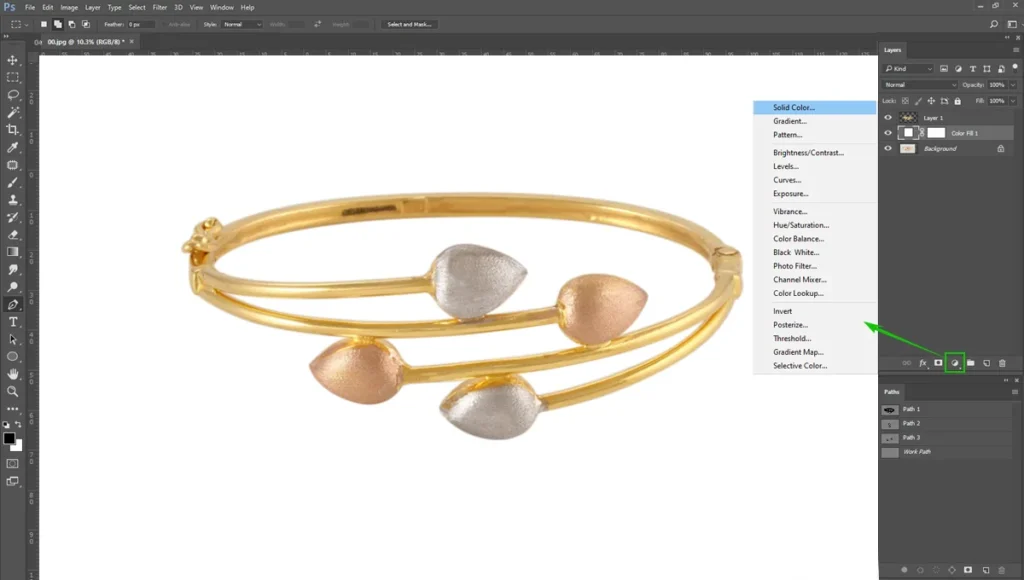
Step 1: Background Removal and Cleaning
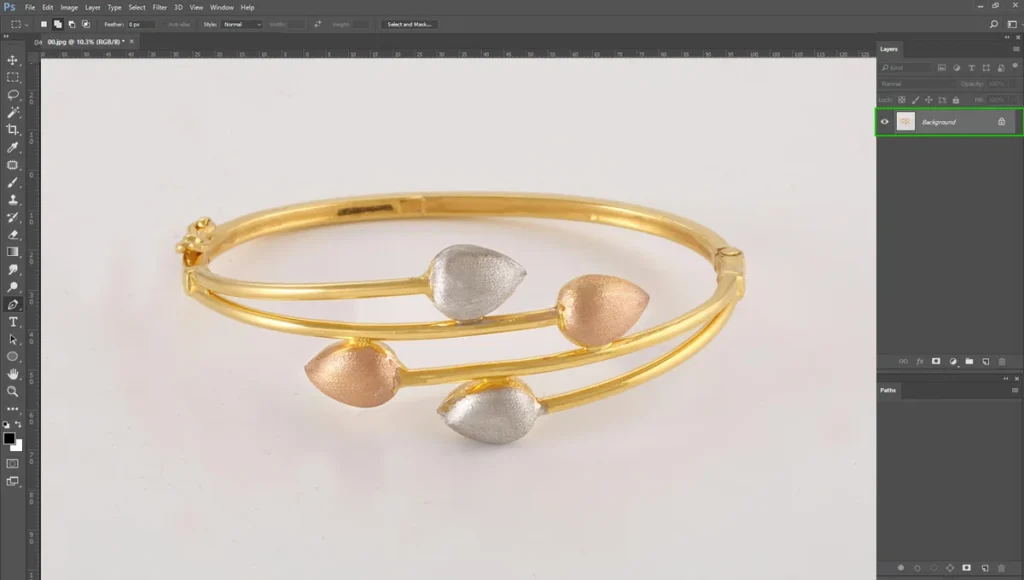
The foundation of excellent e-commerce jewelry photography is a clean, distraction-free background. That’s why we’ll work on the first background removal. First, go to “File” and select the “Open” option. Then open the jewelry photo in Photoshop.
After opening the photo, select the “Pen Tool” and do the Clipping Path around the jewelry. Once your path is complete, convert it into a selection and mask out the original background. Keep the feather radius 0.5 to 0.8 pixels.
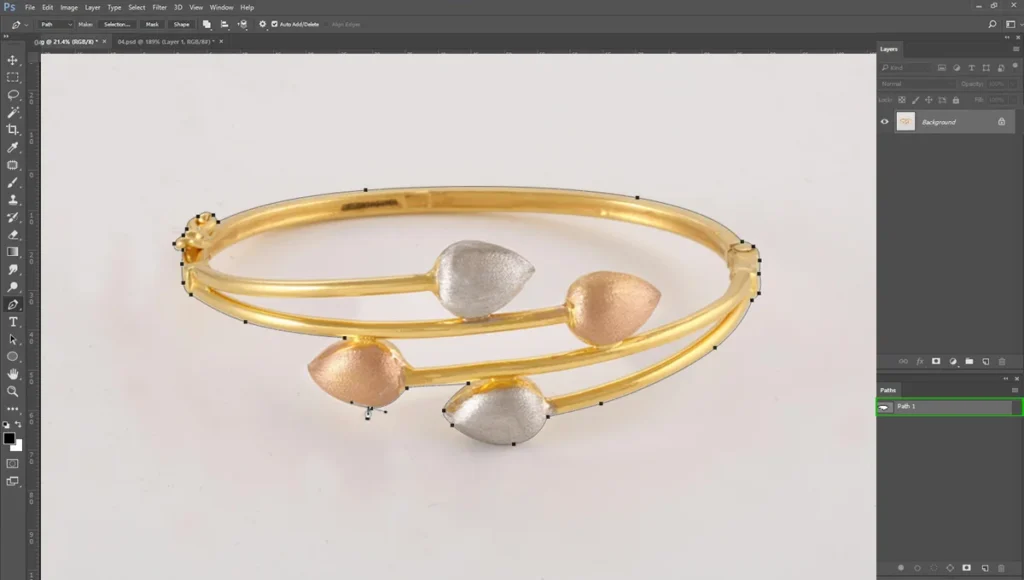
Place your newly isolated jewelry on a pure white or transparent background. Pure white backgrounds are the industry standard for online marketplaces.
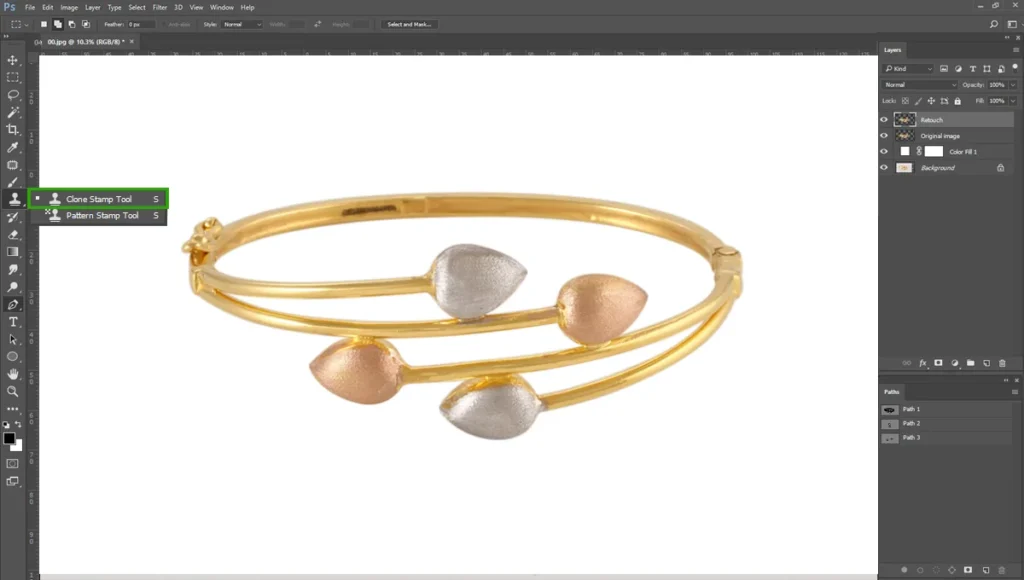
Step 2: Clone Stamp Tool and Patch Tool
After making the transparent background, select the “Clone Stamp Tool. This tool is effective for removing the dust. Select the good spot and select “Alt+ mouse left button”. Then click where you see dust. Be careful when selecting the spot to remove dust, try to select the same color as the dust.
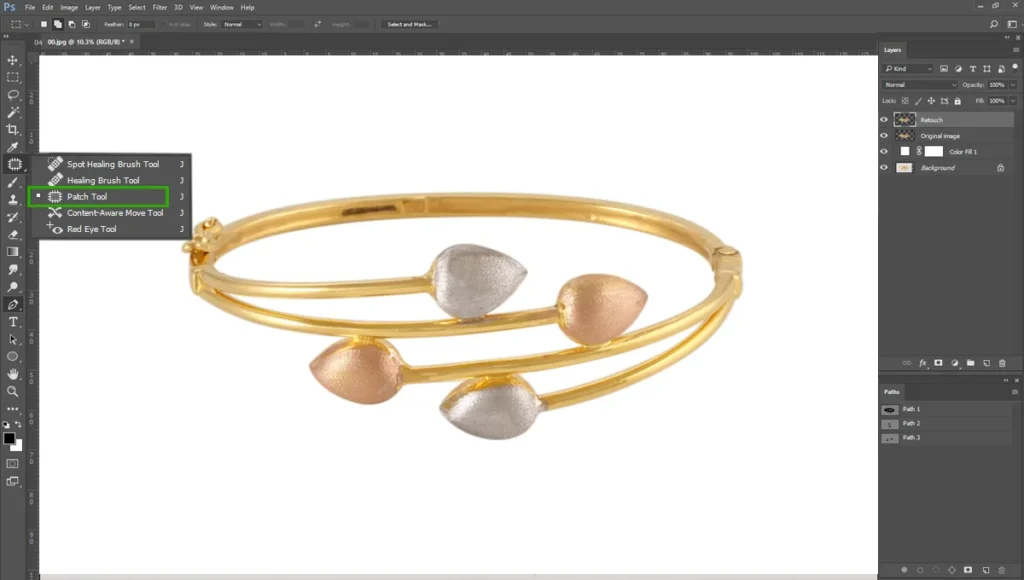
If you wanted to remove scratches, select “Patch Tool”. Then select the area and take it to a similar color spot. You’ll see the scratch area replaced by another good spot.
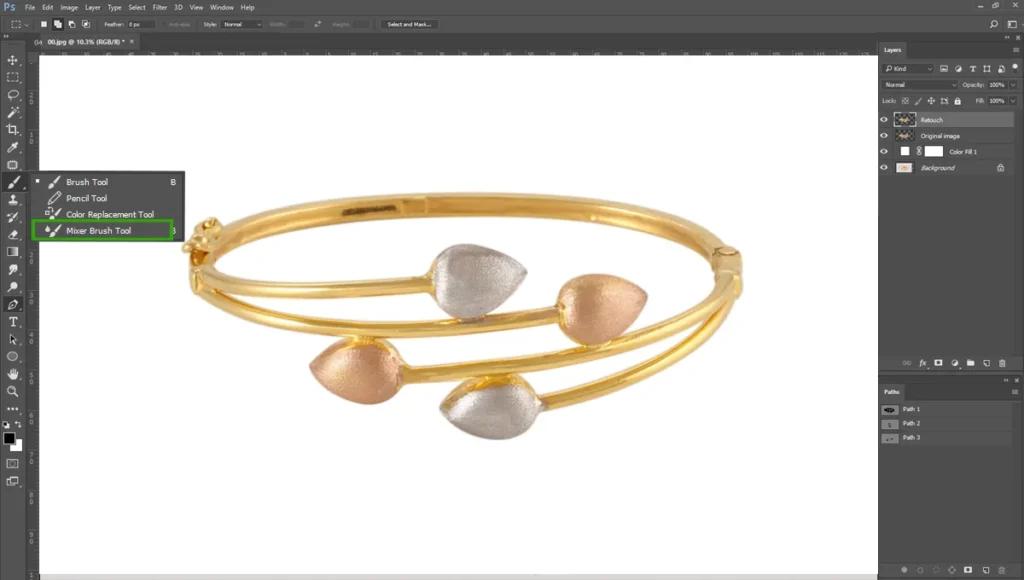
If you wanted to remove more, select “Mixer Brush Tool”. This tool helps you to remove more. But “Clone Stamp Tool and Patch Tool” are very effective for basic retouch. You don’t have to use other tools.
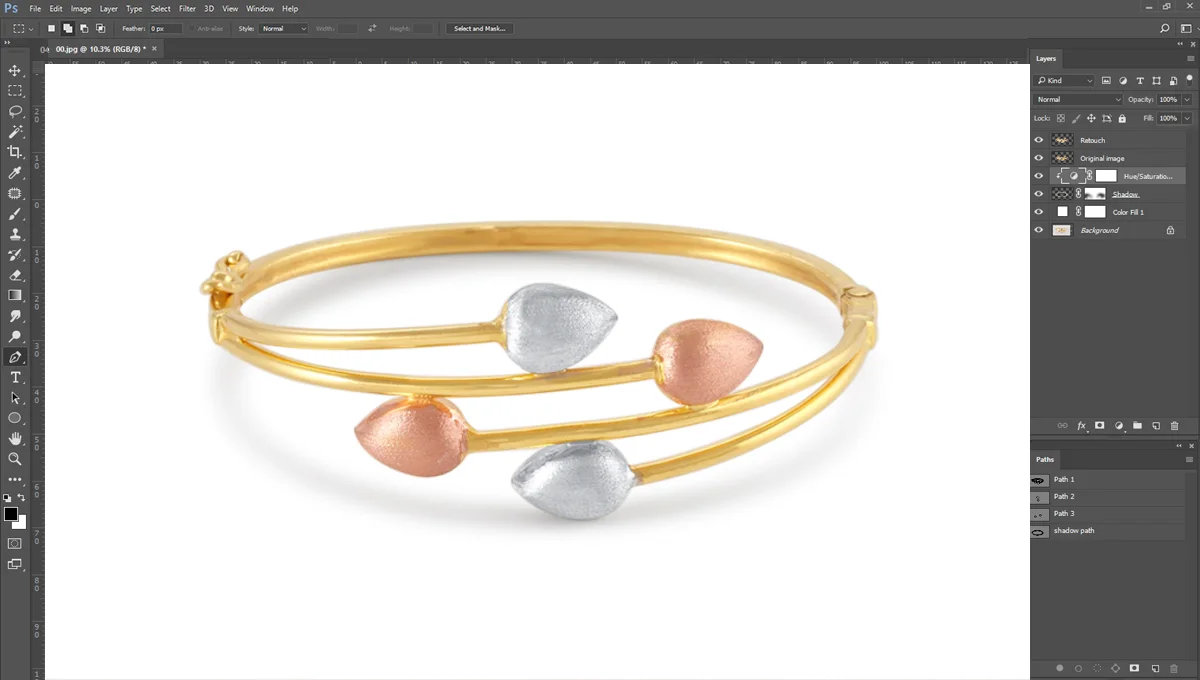
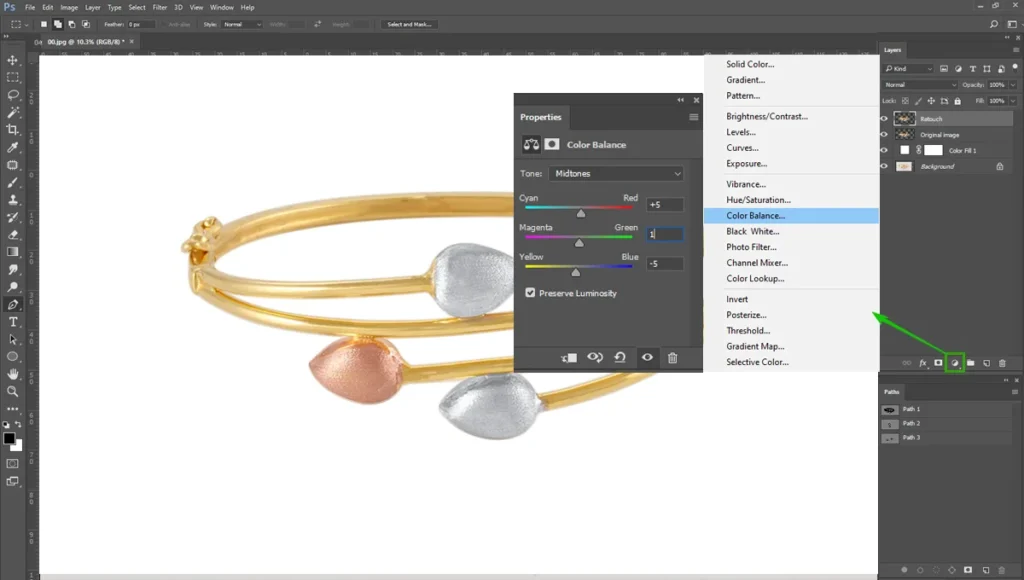
Step 3: Color Correction and White Balance
After removing dust and scratches, select “Brightness/Contrast”. Set the value Brightness: 10 and Contrast: 5. This way the photo will look brighter and shinier.

Then go to the “Hue/Saturation” for color balance. Set the Hue: -3, Saturation: +5, Lightness: +8. This way, the gold color of the jewelry will look more gold.

Then go to “Color Balance” and set the value Cyan:+5, Magenta: 1, Yellow: -5.
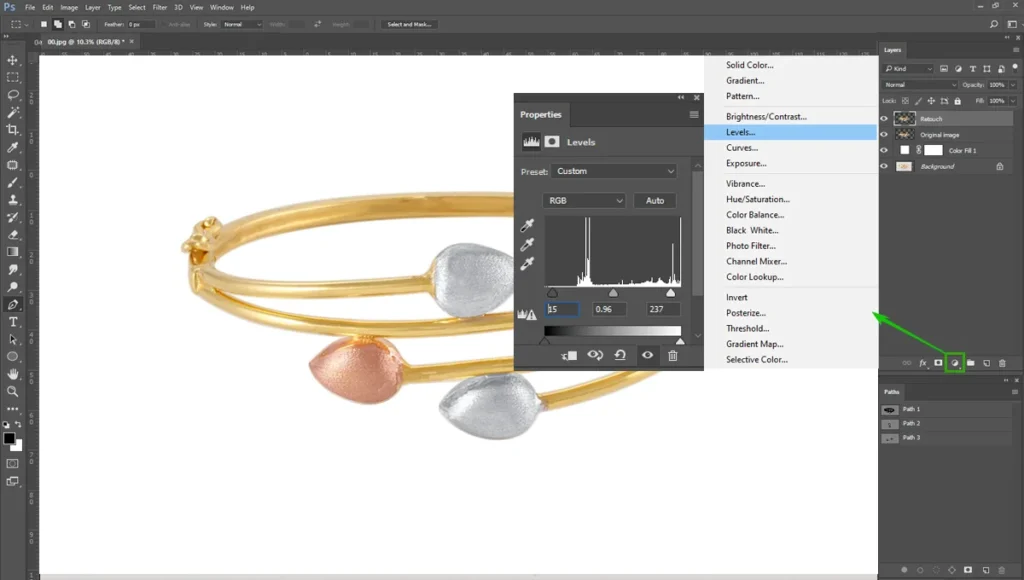
And finally use “Curve” and “Levels”. If you need more contrast and lighting.

If you use these settings, you’ll get the exact hue of precious metals and gemstones.
When dealing with gemstones, you often need to target them separately. Try to create another path for gemstones. Enhance their natural color and vibrance carefully. You want the ruby or sapphire to look bright and appealing, but pushing the saturation too far will make the stones look like fake plastic.
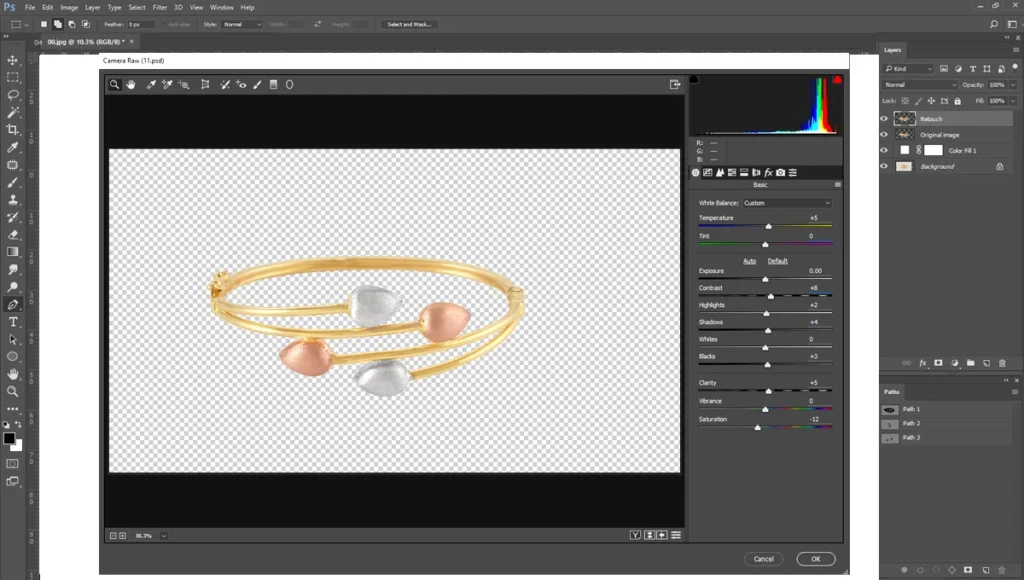
Step 4: Improve more Through Camera Raw and
We need a little bit of color correction of the metal and gemstones. Now go to “Filter” and select “Camera Raw Filter”.

Now adjust the color and white balance through “Exposure, Contrast, Highlights, etc.” Make sure the jewelry doesn’t look too bright and maintains its gold color.
Now we need to sharpen the jewelry photo. Go to “Filter” and select “Unsharp Mask”. Set the value Amount: 80, Radius: 2, Threshold: 0.
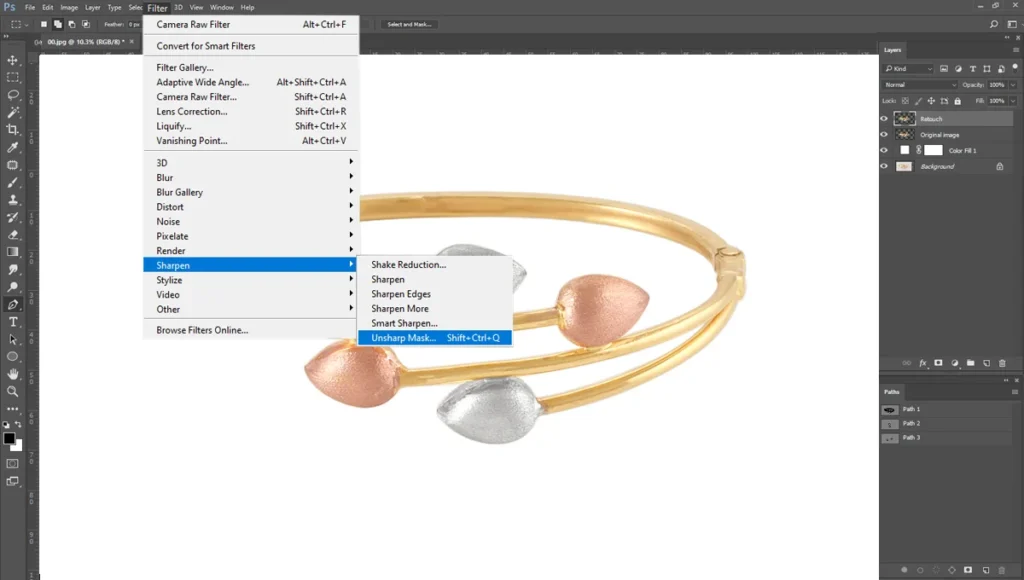
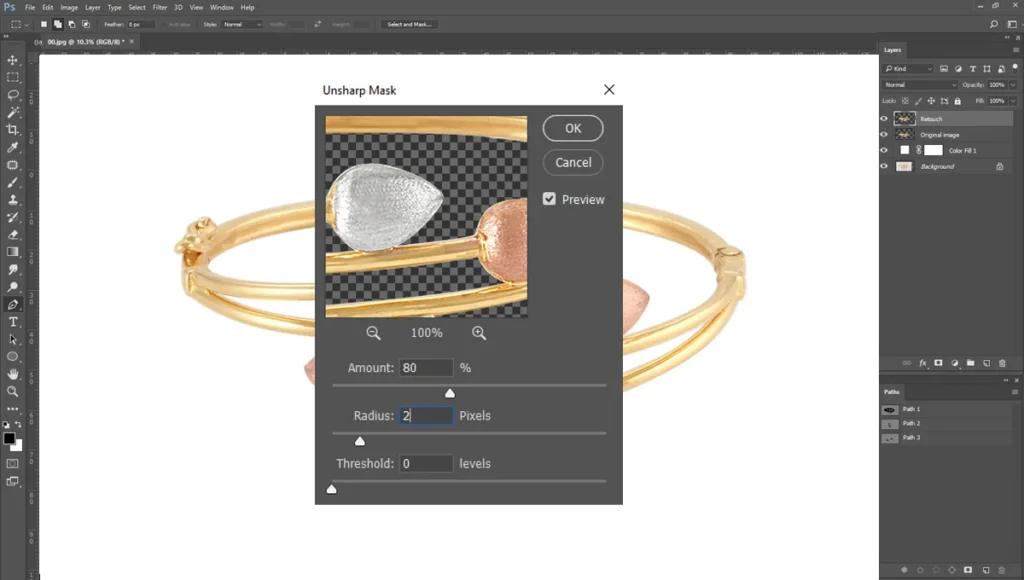
For diamonds and faceted gems, adding a subtle Unsharp Mask filter can work wonders. This technique sharpens the contrast along the edges of the facets, making the stones look incredibly crisp and brilliant.
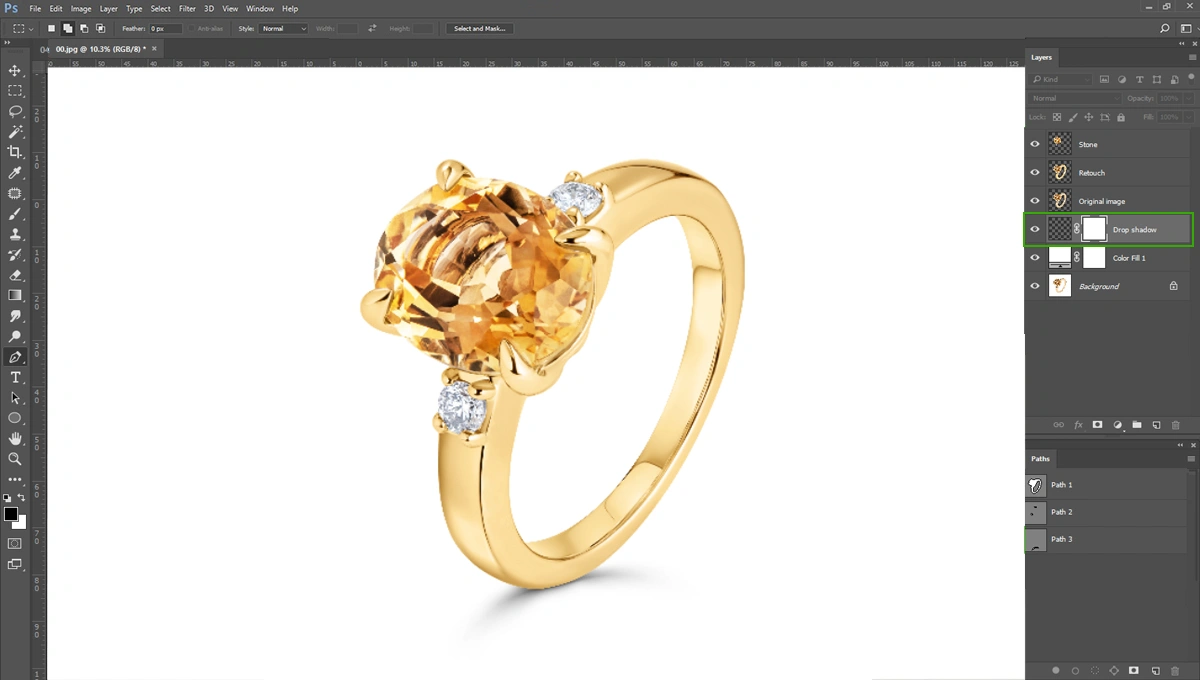
Step 5: Creating Realistic Shadows
A piece of jewelry placed on a pure white background can sometimes look like it is floating in empty space. To ground the product, you need to add realistic shadows.
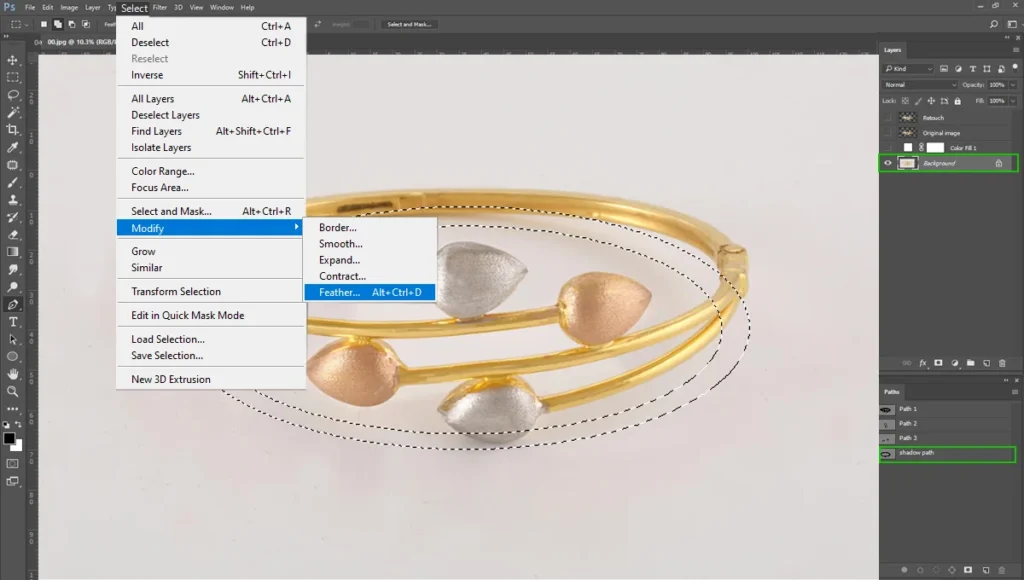
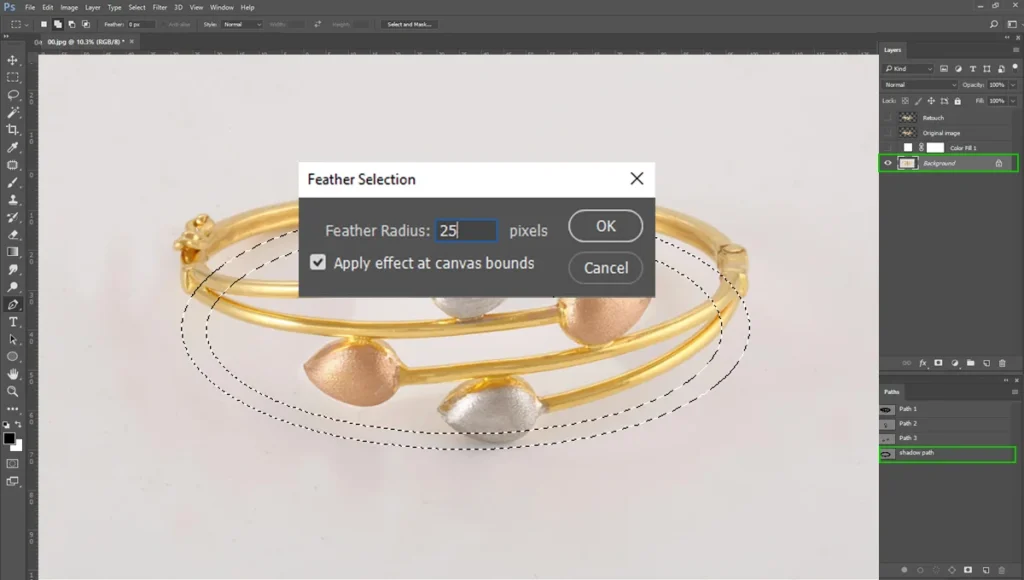
For the shadow created, we’ll use the natural shadow underneath the jewelry. Create another path around the natural shadow. Select the Feather Radius:25. Then select “Ctrl+J’ from the original Background Layer. Place the layer above the white background.
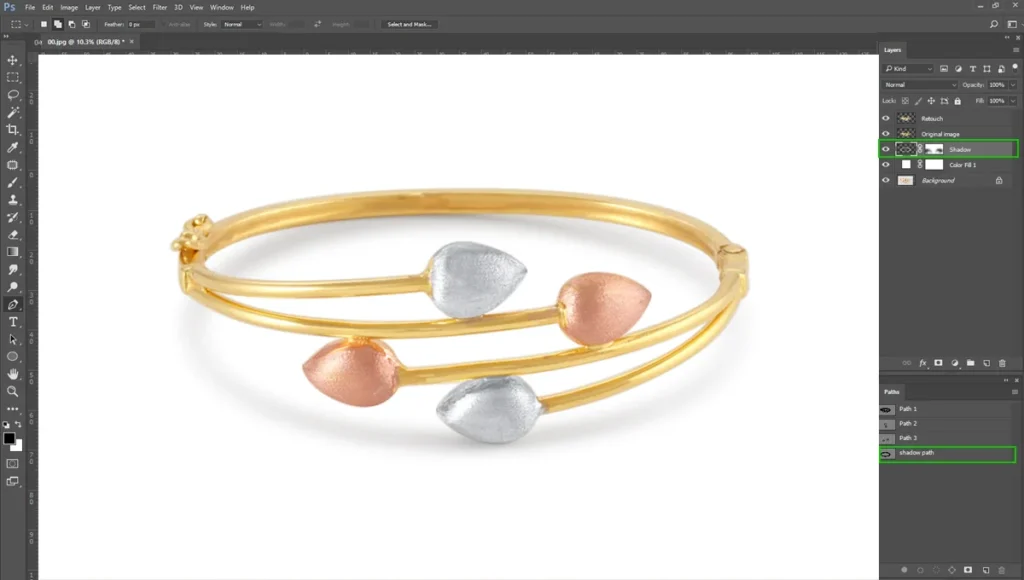
You’ll see a beautiful, smooth shadow underneath the product. Now, select the shadow layer and select “Hue/Saturation”. Set the value Saturation: -100.


Now, finally, we have our jewelry photos with basic editing in a transparent background.
Things to Avoid While Doing Basic Retouch
Every experienced editor sometimes falls into common traps. Keep these pitfalls in mind to ensure your final images look luxurious and natural.
Over-smoothing the Metal
One of the biggest mistakes in jewelry basic editing is applying excessive blur or heavy noise reduction to clean up the metal. While this quickly hides scratches, it destroys the natural grain of the material. Over-smoothed metal looks like cheap, molded plastic rather than fine gold or silver. Always preserve a slight bit of texture.
Losing Natural Shadows
Contrast creates dimension. If you completely erase all the shadows on a ring or necklace, the image becomes entirely flat and unnatural. Shadows help define the shape and volume of the piece, so embrace them rather than eliminating them.
Unrealistic Gemstone Colors
It is tempting to push the saturation slider to the maximum to make a gemstone stand out. However, your final Photoshop jewelry edit must accurately represent the physical product. If a customer receives a pale amethyst after buying what looked like a vibrant, deep purple stone online, they will return the item and leave a negative review. Honesty in color correction protects your brand reputation.
Conclusion
If you wanted to become a master in basic jewelry photo editing, in Photoshop takes time, patience, and a keen eye for detail. Remember that avoiding heavy-handed edits is just as critical as the retouching itself. You want your products to look perfect, yet entirely real.
For jewelry photographers and brand owners alike, practice is the ultimate key to speeding up this workflow. The more time you spend utilizing the Pen Tool and Adjustment Layers, the more intuitive the process becomes.
Ready to take your product photos to the next level? We are ready to help you. We are a jewelry photo editing company with many product photographers and brand owners to manage their photo editing.
If you wanted to streamline your editing process, don’t hesitate to knock us. We’ll get back to you right away.