Skin products are getting hard to sell online. There are so many challenges for consumers.
They can’t physically touch the creams or smell the botanical ingredients. Also, they can’t test the serums on their skin. Which is affecting online sales. That’s why it’s getting hard to sell online skincare products.
But here’s the good news: high-quality skincare images can save you from this issue. A high-resolution image can build trust in the consumer. Nowadays, brands are using high-quality UGC (User Generated Content) on their websites and social media to attract customers.
That’s why commercial photographers and studio owners know that clients are constantly looking for high-quality product visuals. Online retailers are demanding high-resolution output and quick turnaround time to drive more customer engagement.
If you are a product photographer or photo studio owner, you can become a go-to partner with retailers to deliver such an amazing result. But delivering stunning results is quite difficult. It’s hard to maintain the same quality every single time. There are props issues, texture issues, lighting issues, etc.
I’m working with many product photographers and brands to manage their product photo editing. I have noticed these issues while doing the image post-production. Based on this, I have gathered the top 10 skincare photoshoot ideas for photographers and brands.
I have covered technical setups, styling techniques, and workflow efficiencies. If you apply this in your photoshoot, I think you can become an industry leader in skincare product photography. Let’s start-
Top 10 Skincare Photoshoot Ideas
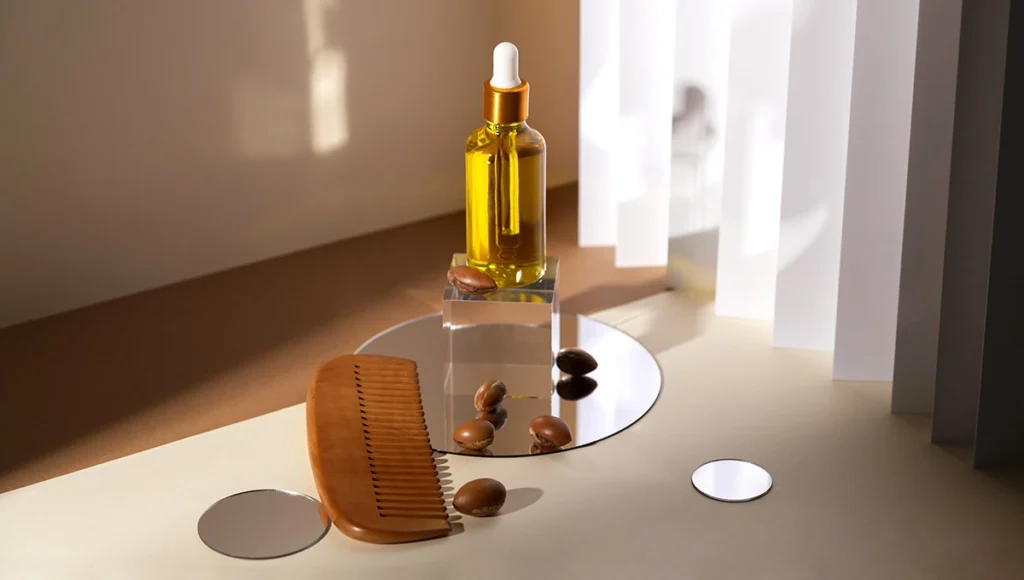
1. Ingredient Storytelling with Natural Props
One of the important parts of skin care photography is consumer trust. It can be simply achieved by using raw ingredients as props. Sliced avocados, fresh aloe vera leaf, lavender springs, or roasted coffee beans for a visual story about the formula.
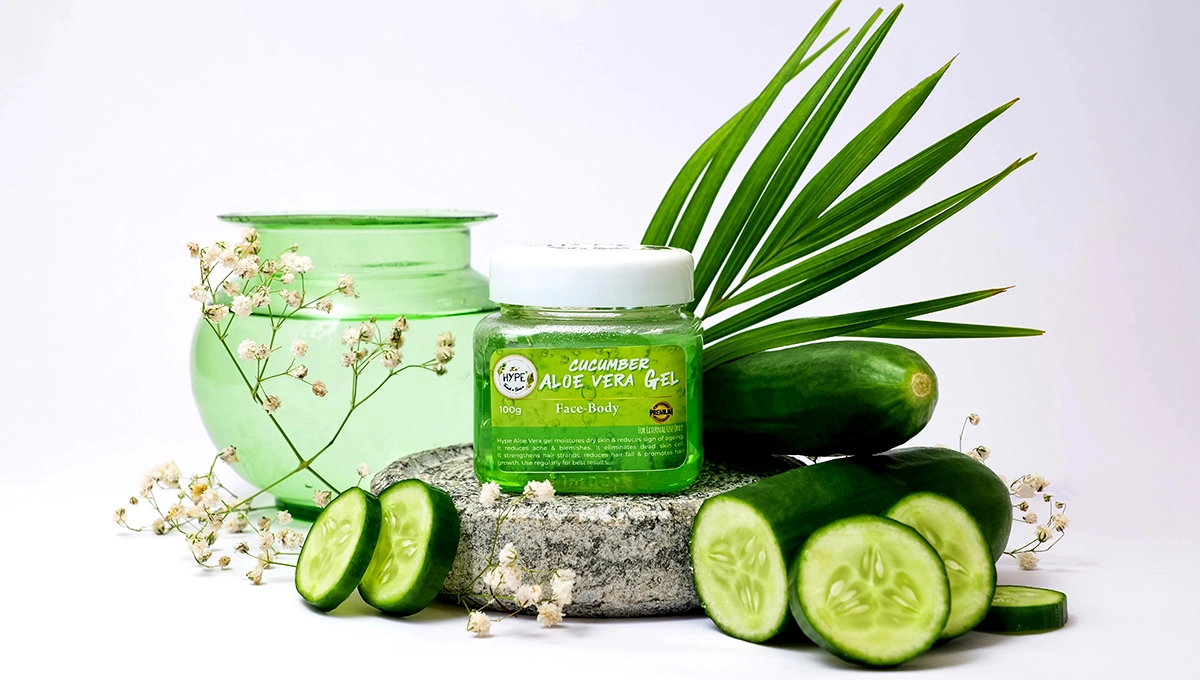
There’s another important factor is capture the details of product and props. Its ultimate goal is to almost feel the texture of an avocado peel or smell the fresh lavender. For this type of detail, you can use Macro lens. While doing photoshoot, make sure to maintain consistent lighting and color accuracy. If you alter the natural colors of ingredients, it can break the illusion of purity. Because brands wanted their product photos along with ingredient for purity and natural sourcing. Keep in mind the natural props should match the product ingredients.
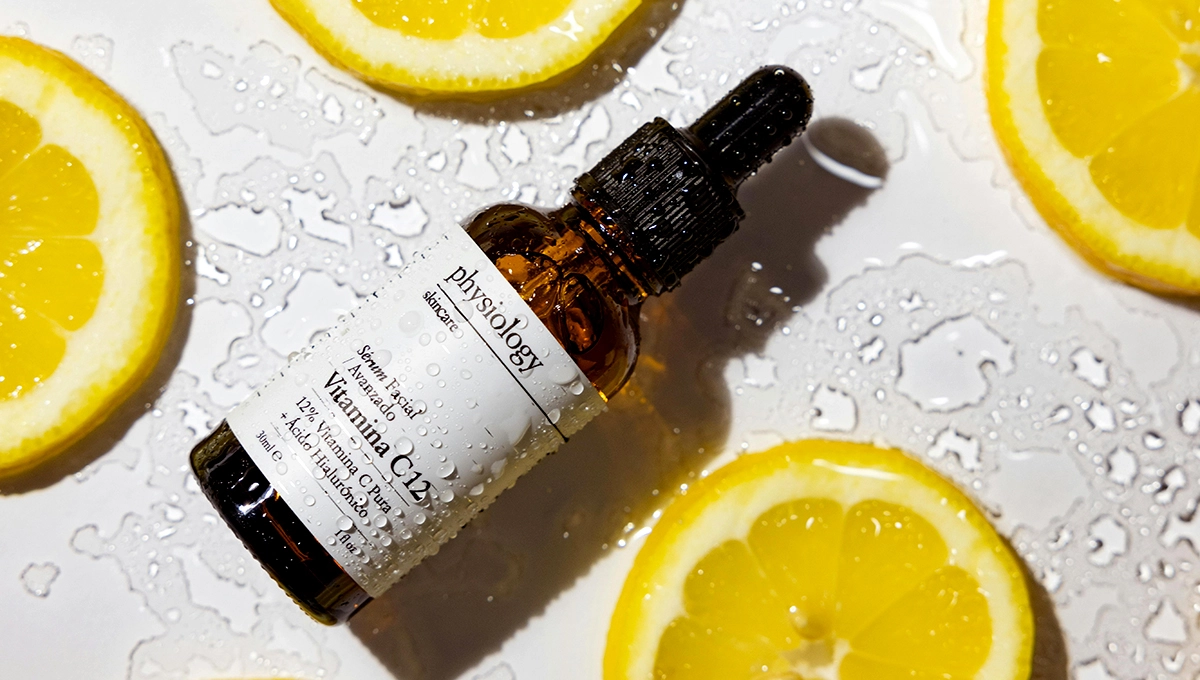
2. Bringing Freshness through Water and Motion
Moisture (cream and lotion) products need to feel fresh in photos. Because freshness concepts (Water splashes, droplets, and ripples, etc.) can make powerful buying triggers.
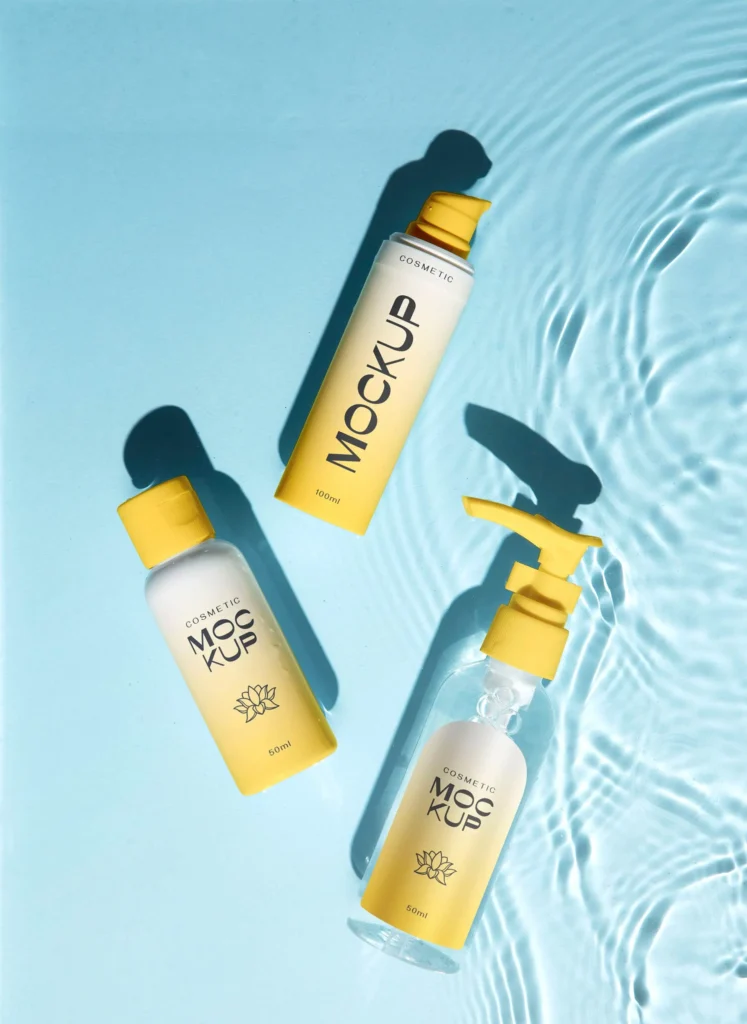
Achieving the freshness in skincare product photos is not very complicated. But it can be difficult for beginner photographers. It requires expert technical precision.
First, set the camera up to freeze motion using high-speed sync flash positioning. Use strategically placed reflectors and diffusers to catch the light dancing across the water droplets without creating harsh glares on the product packaging.
This dynamic approach brings a seamless and refreshing energy in skincare product photos.
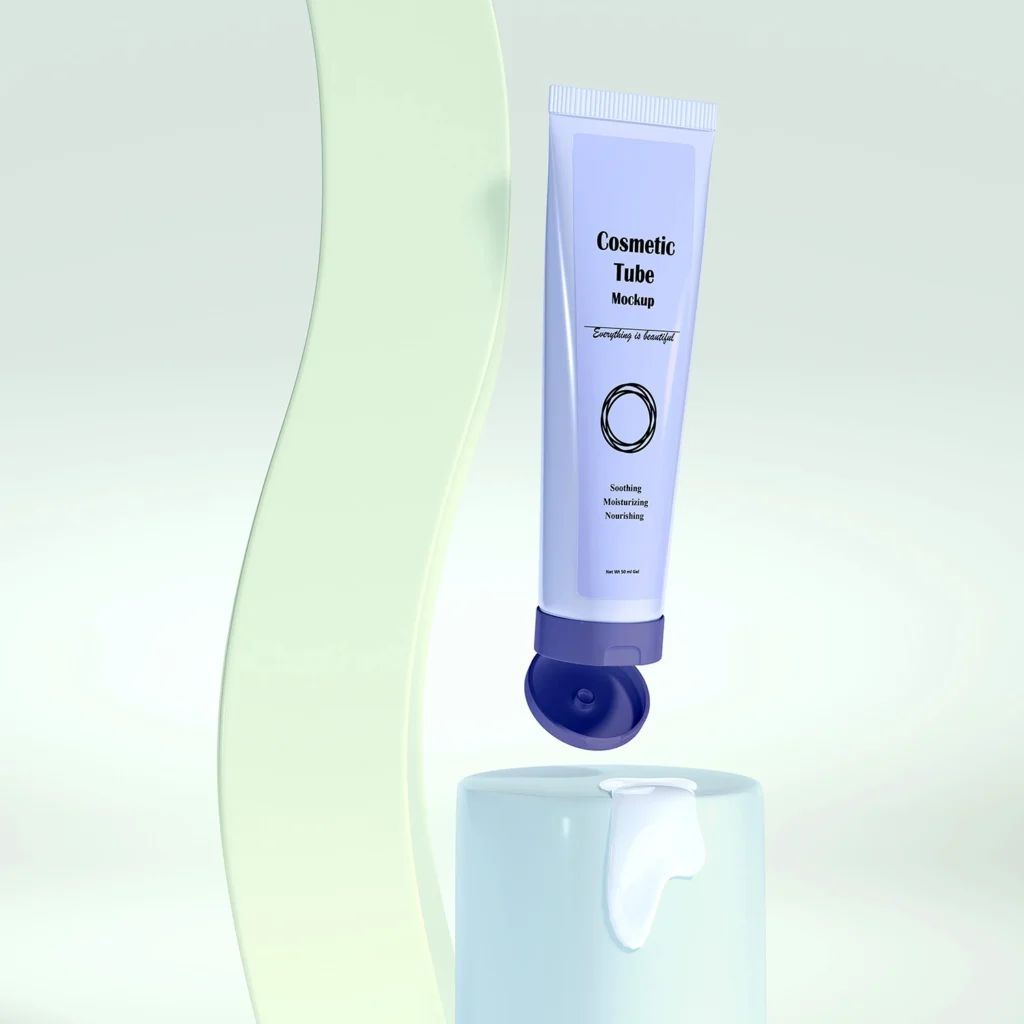
3. Smudge, Smear, and Swatch for Texture
It’s kind of complicated to provide physical touch benefits in online stores. As a product photographer, you have to make a bridge between the consumer and physical testing (touch). It can be solved by demonstrating the product’s texture.
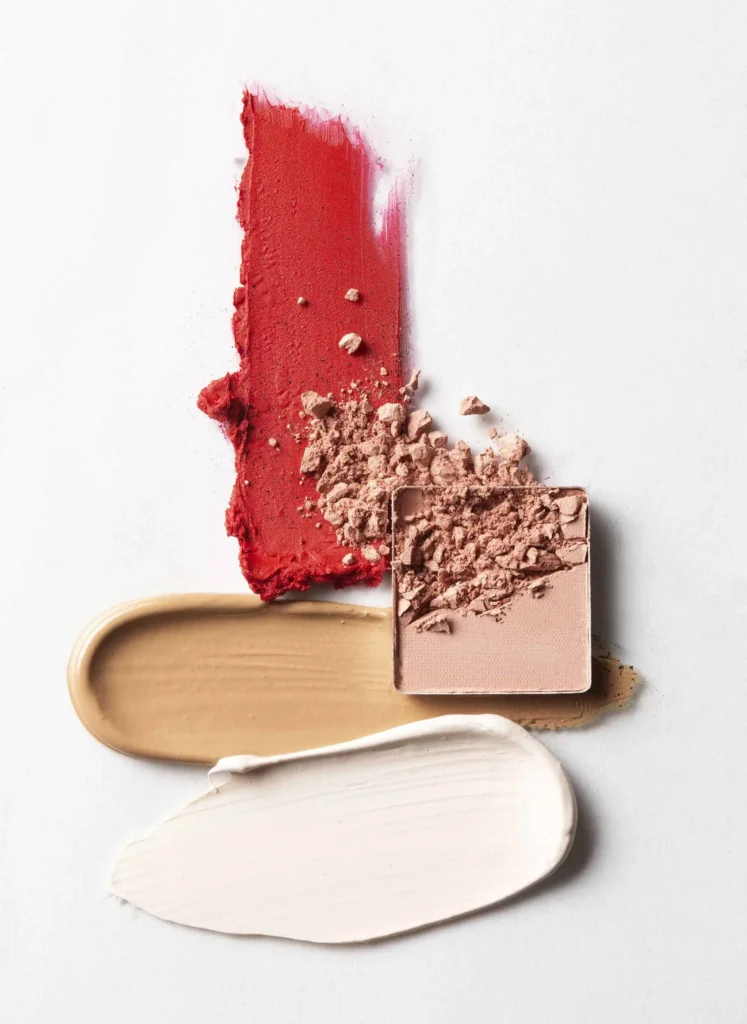
For cream and serum products, it’s better to show the texture through smudging creams and smearing serums. Smudging creams look easy, but it’s not. It needs practice and a steady hand for a perfect shoot.
To smudge the creams, use palette knives or specialized acrylic tools to create a uniform.
For the smearing serums, using the “Hero Drip” technique is a better idea. Place the dropper tip very close to the surface and slowly squeeze out a large drop while pulling the dropper upward. This creates a thick, luxurious “tail” of product.
This technique is especially for a makeup product photoshoot.
4. Minimal and Clean Background
In makeup photography, if you can keep the presentation minimal and the main focus on the product itself, it will create a good impression. Sometimes, less truly is more. A clutter-free and minimalist background can help to create a sole focus of the product. This approach naturally portrays luxury and clinical efficacy.
To achieve this style, use neutral seamless paper (such as bright white, soft grey, or muted pastels). For lighting, use soft diffused studio lighting to avoid the harsh shadows. This approach can help to maintain consistent brand representation across media (catalog, website, ads, etc.).
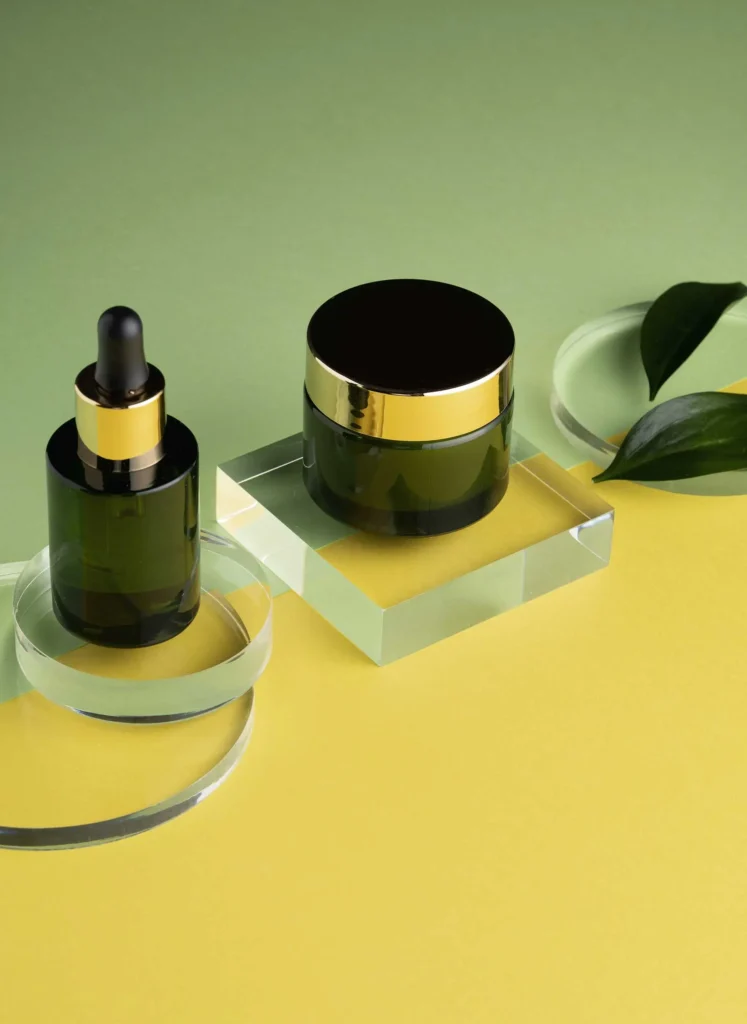
5. Creative Placements and Suspensions
Traditional static images (product on white background) aren’t making much engagement in ad creatives. Photographers are now shooting in a more creative way to showcase the product for ad creatives.
For example, place the products in an asymmetrical pyramid angle or suspend the product mid-air using transparent fishing line.
The above examples require meticulous post-production work (retouching). But it’s worth it to show the product like the examples. This beauty product photography session creates a glossy magazine look that can effectively stop the scroll on social media platforms.
6. Artistic Lighting and Reflective Shadows
Reflective shadows can make a basic product shot into a piece of modern art. To achieve this effect, use a reflective surface like mirrors, glass plates, or shallow water pools.
After shooting the product images, it requires advanced post-processing capabilities. You will likely need to use clipping paths and create reflection layers to make the perfect final image.
Remind your photography team to account for this advanced editing time when providing 1-2 week turnaround estimates (based on image quantity) to clients.
7. Real World Context
In the ad campaign creative, it’s really important to show the product in natural environments. A luxurious bathroom vanity, a minimalist shower shelf, or a cozy bedside table gives the product a realistic home feeling.
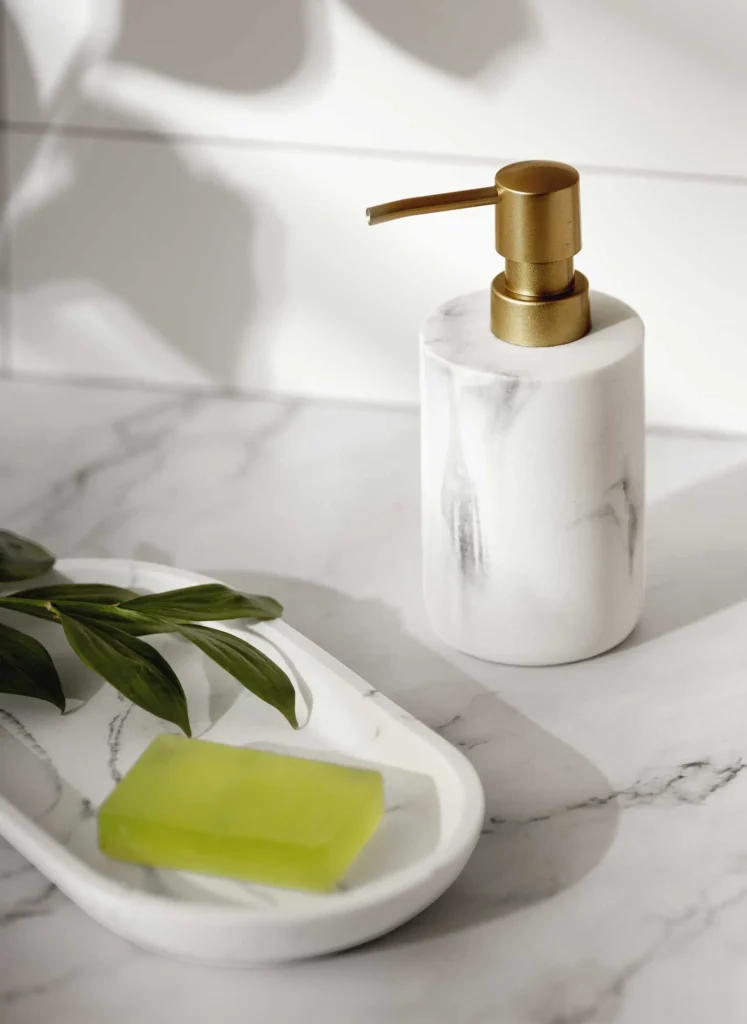
Product lifestyle photography can bring the product to real life and improve consumer engagement a lot. To achieve this type of result, use blend studio strobe lighting with ambient room light to make the scene look natural.
When the shoppers can easily picture the moisturizer sitting on their own bathroom counter, it can drive the shoppers to buy the product.
8. Trending Themes and Bold Color Palettes
Align the photoshoot with upcoming trending or seasonal sales events for beauty products. For example, winter hydration campaigns, summer suncare promotions, or bright holiday gifting guides.
To achieve the style, use colored lighting gels or vibrant, contrasting props to make a bold, seasonal statement. Color palettes can keep the makeup products shot fresh and highly shareable across seasonal marketing campaigns.
This flexibility proves your studio can deliver a tailored photo solution that directly supports a brand’s promotional calendar.
9. Flat lay Arrangements for Bundles (Group Shots)
Flat lay photography is perfect for showcasing an entire skincare routine or bundled product kits. These layouts can make an effect on higher average order values for the retailers. This way, retailers can show the customers how the products work together as a complete system.
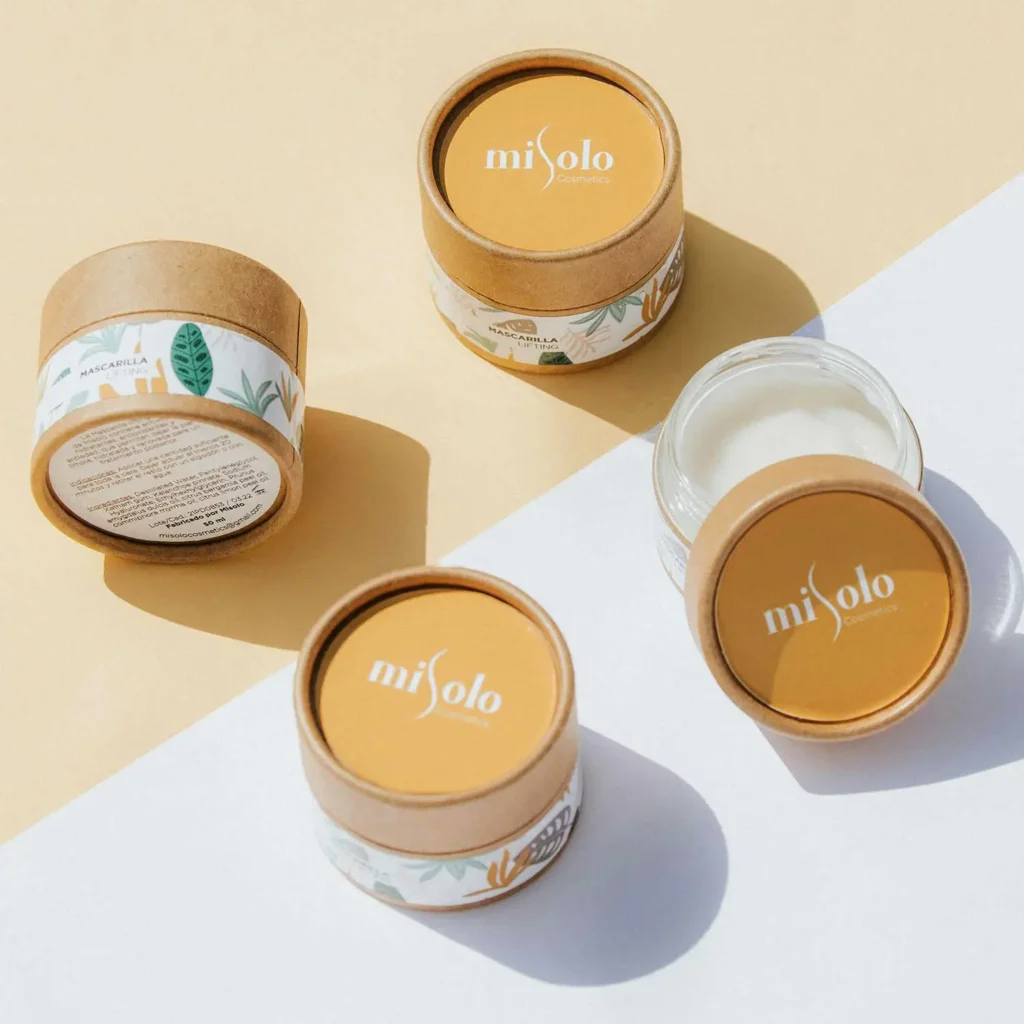
To achieve this style, focus entirely on symmetry, grid alignment, and visual balance. Keep in mind that, always keep extra products on hand in case of dents, fingertips, or spills during styling.
Organize the multiple items cleanly in a minimal background. Shoot from above the product like a flat lay. It’s a golden standard for makeup (makeup kits and holiday bundles) photography.
10. Add Human Elements
A product with model can be a little bit complex and expensive. But it makes a lot of impression on the ad campaign. Adding a human element will create more emotion to an image, it feels like they are experiencing the location themselves.
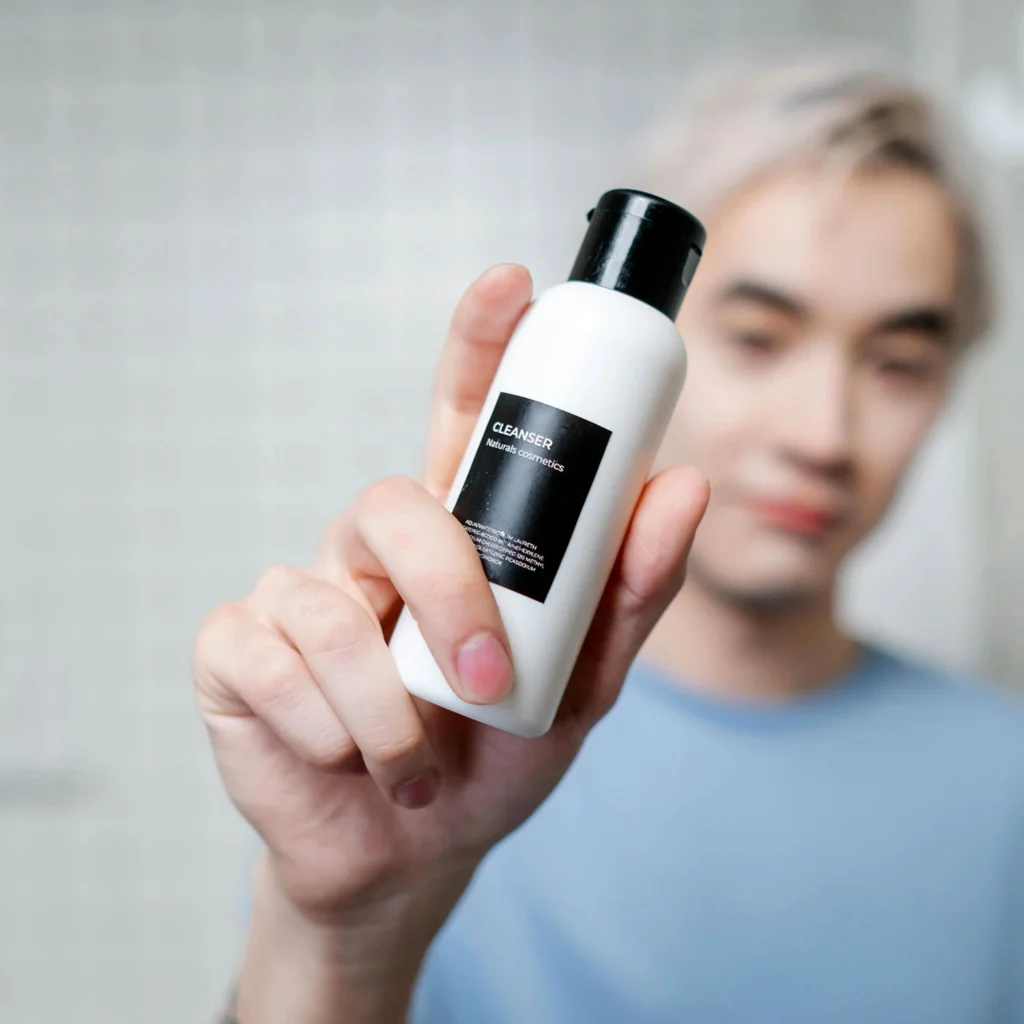
Example- a hand holding the serum bottle, a finger applying cream, or a close-up of glowing skin. These styles can establish physical scale and context.
Make sure that the model matches the brand’s ideal customer profile. Also, pay close attention to skin retouching in post-production. The main goal is to keep the skin looking flawless with high realism.
Radiant and healthy skin can directly trigger the consumer’s desire to purchase.
Things to Avoid While Doing the Skincare Photoshoot
In skincare ads creative a single “off” detail can break the trust of a potential buyer. It’s really important to avoid the common technical issues and styling polish presentation issues. I have gathered some challenges that you can avoid while doing makeup product photoshoot.
- Uncontrolled Shadows: While doing the photoshoot, you’ll notice there are some harsh shadows in product labels, or the product looks unappealing.
- Fix: It’s easy to solve this issue. Use the softboxes or diffusers to create even and glowing light.
- Background Clutter: Remember, I have mentioned the main product should be the main focus. While doing the photoshoot, you’ll see busy patterns in the background, overlay bright backdrops, or you have decided to use too many props for decoration.
- Fix: For this issue, try to match the background color with the brand’s branding color. If the brand sells “natural products,” use earthy tones. Or if the brands selling “medical grade” use crisp whites and cool blues.
- Dust, Fingerprints, and Smudges: While using the micro lenses for photoshoot, you’ll see so much dust, fingerprints, and smudges in the products. Micro lenses pick up everything. A single fingerprint on a glass dropper or a speck of dust on a black lid can make a luxury product look cheap and used.
- Fix: Always handle the product with microfiber cloths or lint-free gloves. Also, try to keep a can of compressed air nearby to blow off the dust.
- Over-editing the Texture: While doing the retouching work, sometimes the editor “smooths out” too much of the product. It loses the product’s originality. But the consumer wants to see the real product. If the product photos look CGI or fake (for too much editing), customers may feel the product won’t perform well in an ad campaign.
- Fix: Try to keep the natural color and texture of the product. Don’t try to over-edit it. Keep the original natural peaks, swirls, and bubbles. It’ll help to improve the authenticity.
- Inconsistent Lighting: If you are shooting a full line of products, keep in mind the consistent lighting. Having one bottle bathed in warm yellow light and another in cool blue light makes your website look disorganized
- Fix: Test the lighting system before starting the actual product shoot. Use the “gray card” to make sure the white balance. If the brands have any customized lighting systems, you can also ask for that.
- Misleading Scale: Usually, skincare product bottles look small in real life. But brands want the bottle to look much bigger on the website for better understanding by the customers.
- Fix: Avoid “hero shots” that have no sense of scale. Include at least one lifestyle photo where the product is being held or placed next to a common object (like a towel or a sink) to give a realistic sense of size.
Conclusion:
Mentioning the above 10 photoshoot ideas can drastically increase sales online. As a skincare photographer, it’s an ultimate goal to increase engagement.
I have worked with so many photographers and brands, and I have seen a lot that a good skincare photographer can make a huge impact on online presence. If you are a beginner photographer, take the time to test two or three of these concepts I have shared above. Try to update the portfolio based on trending. You can easily attract new premium clients.
If you are a professional product photographer and working on a photoshoot, you can focus more on editing. Professional retouching can eliminate a huge part of the photography.